
How to Set Up Your Hammock Underquilt: A Step-by-Step Guide
Setting up a hammock underquilt is quite straightforward! You’ll want to ensure it’s snug against your hammock for maximum warmth. The key is to create an even layer of insulation all around you.
Your underquilt is your best friend against chilly nights. It works by trapping warm air and preventing cold drafts from reaching your backside. Many campers find it the most important piece of sleep system gear.
- Underquilts trap warm air.
- They prevent cold drafts.
- Proper setup means even insulation.
- This keeps you cozy all night.
Ready to learn how to get your underquilt perfectly installed? Let’s walk through exactly how to set it up step by step to keep you warm and happy on your next trip!
Getting Your Hammock Underquilt Set Up Right
Setting up your underquilt correctly is key to staying warm. It creates a cozy barrier against the cold. A well-fitted underquilt prevents drafts from chilling you. You want it to feel like a warm hug all around your hammock.
Think of your underquilt as a sleeping bag for your hammock. It fills the space beneath you. This stops cold air from seeping in. Proper setup means even insulation, which is essential for comfort.
Understanding Your Underquilt’s Components
Most underquilts have a few common parts. You’ll usually see suspension systems and draft collars. The suspension connects the underquilt to your hammock. Draft collars seal off the ends. Knowing these helps you understand the setup process.
The Suspension System Explained
This is how your underquilt attaches to your hammock. It often involves shock cords or straps. These run along the edges of the underquilt. They loop around your hammock’s suspension system. This keeps the underquilt snug and in place.
Draft Collars: Your Warmth Seal
Some underquilts have draft collars. These are like little elastic skirts at the head and foot. They cinch down tight. This prevents cold air from getting in at the ends. They are especially helpful in windy conditions.
Step-by-Step: Attaching Your Underquilt
Let’s get your underquilt connected. This process is usually quite simple. Follow these steps to ensure a snug fit.
Step 1: Position the Underquilt
Lay your underquilt out flat. Drape it underneath your hammock. Make sure it’s centered. The underquilt should cover the entire length of where your body will be. You don’t want any gaps.
Step 2: Connect the Suspension Cords
Locate the suspension points on your underquilt. These are often loops or small carabiners. Hook these onto your hammock’s suspension system. Many hammock suspensions have built-in loops. You might need to adjust the tension.
Getting the Tension Right
The underquilt should hang just below the hammock fabric. It shouldn’t be stretched tight. It also shouldn’t sag too much. A slight downward curve is good. This allows the insulation to loft properly. Lofting is how the insulation traps warm air effectively. Research shows that allowing insulation to expand fully maximizes its warmth (NCBI).
Step 3: Adjusting for a Snug Fit
Once connected, check the fit. You want the underquilt to be tight against your hammock. Reach inside your hammock and feel the edges. There should be no big gaps where cold air can sneak in. Adjust the shock cords or straps as needed.
The All-Around Seal
Your goal is to create a sealed cocoon. The underquilt should hug the sides of your hammock. This prevents drafts from coming in from the sides. Many campers find that adjusting the tension at the head and foot helps seal these areas best. You can often cinch down draft collars here if your quilt has them.
Step 4: Testing the Fit (The Sit Test)
The best way to test your setup is to get in. Sit in your hammock. This will put weight on the underquilt. Feel around the edges again. Does it feel snug? Are there any drafts? Make any final adjustments now.
What to Look For During the Test
As you settle in, the underquilt should expand slightly. It should maintain contact with the hammock fabric. If you feel a cold spot, try tightening the cords in that area. You want an even layer of insulation all around. This test ensures you’ll be comfortable when you’re actually trying to sleep.
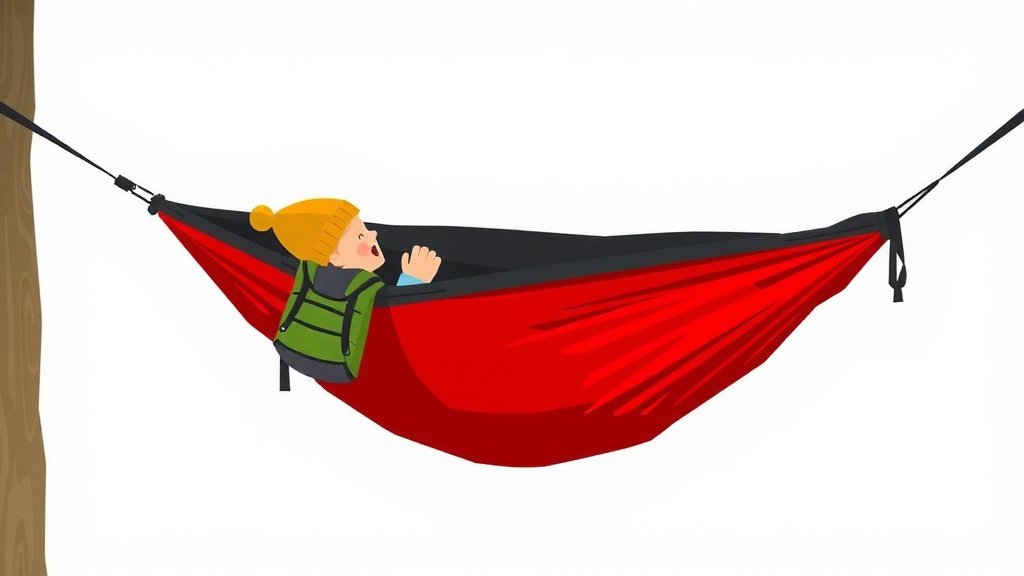
Common Underquilt Setup Issues and Fixes
Sometimes, things don’t go perfectly the first time. Don’t worry! Most issues are easy to fix.
Issue: Cold Spots or Drafts
This is the most common problem. It usually means the underquilt isn’t snug enough. Check all connection points. Make sure the suspension is taut. Ensure draft collars are cinched. You might need to add more tension to specific cords.
Issue: Underquilt Sagging Too Much
If your underquilt hangs too low, it won’t insulate well. The insulation won’t loft properly. Tighten the suspension system. Make sure the cords are properly attached. Some underquilts have adjustment systems to prevent this.
Issue: Underquilt Bunching Up
Sometimes, the fabric can bunch. This creates gaps. Try re-tensioning the suspension cords. Ensure the underquilt is laid out evenly before connecting. A smooth lay prevents bunching.
A Quick Checklist for Your Setup
Here’s a handy checklist to ensure you’ve got it right:
- Underquilt is centered beneath the hammock.
- All suspension cords are securely attached.
- Underquilt edges are snug against the hammock.
- No major gaps are visible.
- Draft collars (if present) are cinched tight.
- You’ve performed the “sit test” and feel no drafts.
Conclusion
You’ve learned the essentials of setting up your hammock underquilt. Getting that snug, even insulation is key for a warm night’s sleep. Remember to check your suspension and ensure there are no gaps. A well-fitted underquilt makes all the difference on a cold camping trip. Now, get out there and enjoy the comfort your underquilt provides!
Frequently Asked Questions
How tight should my underquilt suspension be?
Your underquilt suspension should be snug but not overly tight. You want the underquilt to hang just below your hammock. This allows the insulation to loft properly, trapping more warm air. If it’s too tight, it can compress the insulation and reduce its effectiveness.
Can I use my underquilt in warmer weather?
While designed for cold, you can adjust your underquilt for milder nights. Some setups allow you to loosen the suspension or vent it slightly. However, many prefer to use a lighter-weight underquilt or no underquilt at all when temperatures are warmer.
What’s the difference between an underquilt and a sleeping pad in a hammock?
A sleeping pad sits inside your hammock, taking the shape of your body. An underquilt hangs *under* the hammock, creating a pocket of warm air. Underquilts are generally more effective at preventing drafts and providing consistent warmth around you.
My underquilt feels a little loose at the foot end. What can I do?
This often happens if the suspension isn’t evenly tensioned. Try adjusting the shock cords or straps at the foot end. If your underquilt has draft collars, make sure they are cinched down securely to seal out drafts.
How do I know if my underquilt is working effectively?
You’ll know it’s working if you feel consistently warm and cozy throughout the night. Reach inside your hammock and feel around the edges. You shouldn’t feel any significant cold drafts. The underquilt should maintain contact with the hammock fabric without excessive sagging.