How to Make a Whoopie Sling for Easy Camping
Making a whoopie sling is surprisingly straightforward and doesn’t require many materials. You can easily create your own durable whoopie sling with just a few key items and a bit of patience, making it a fantastic option for anyone looking to save money or customize their gear.
This versatile piece of equipment is a favorite among arborists and hammock campers for good reason. We found that a well-made whoopie sling offers both strength and adjustability, which is essential when setting up a hammock in various locations. It’s a simple system that can make a big difference in your outdoor adventures.
- What is a whoopie sling?
- What materials do you need?
- How to make one step-by-step.
- Tips for the best results.
- Why it’s a smart choice for campers.
Ready to learn how to craft your own? Let’s walk through exactly how to make a whoopie sling, step by step.
Crafting Your Own Whoopie Sling
Making a whoopie sling yourself is a rewarding project. You can achieve professional-quality results with a few simple tools. This guide will walk you through the process clearly. Let’s get started on building your custom suspension system.
What You’ll Need for Your Whoopie Sling
Gathering the right materials is the first step. You don’t need a huge list. Most of these items are easily found online or at outdoor gear stores. Having everything ready makes the building process much smoother.
Essential Materials and Tools
- Dyneema or Amsteel rope: This is your main material. Look for a low-stretch, high-strength synthetic rope. A diameter of 7/16 inch (about 11mm) is a common and good choice for most hammocks. Many find this size offers a great balance of strength and manageability.
- Fid or Marrying Tool: This tool helps you create the critical splices. It’s a hollow needle that pulls one rope through another. You can find these specifically made for rope splicing.
- Sharp Knife or Scissors: For cutting your rope cleanly. A sharp blade ensures you don’t fray the ends unnecessarily.
- Measuring Tape: Precision is key for getting the right lengths.
- Lighter: To carefully melt and seal the ends of your rope. This prevents them from unraveling.
- Marker: To mark your rope for accurate cutting.
Understanding the Parts of a Whoopie Sling
A whoopie sling has a simple design. It consists of two main parts. These parts work together to create an adjustable loop. Understanding their function helps with the making process.
The Fixed Loop and the Adjustable Loop
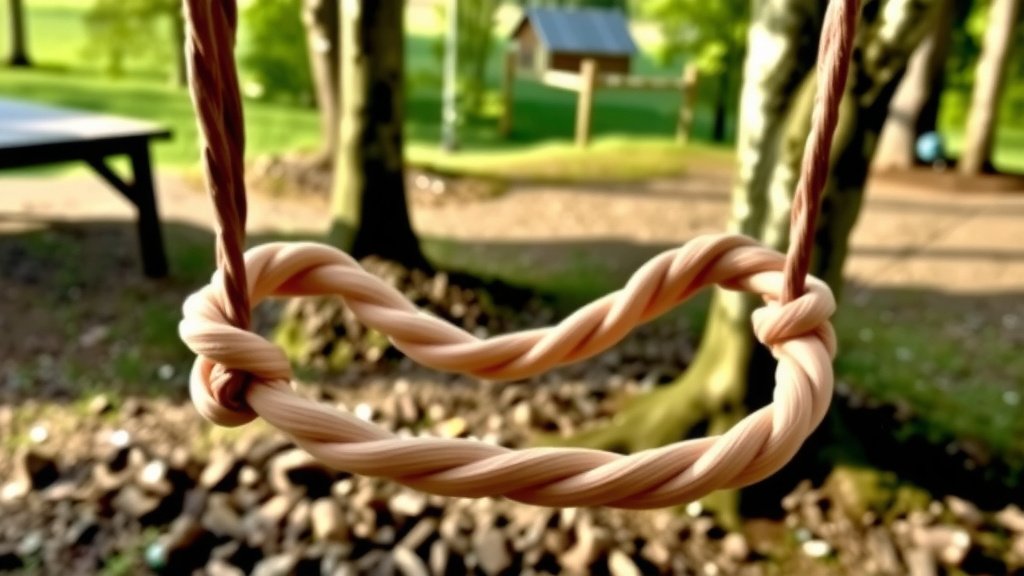
One end of the sling has a permanent loop. This is often called the fixed loop or the stopper knot end. The other end features a special splice. This splice creates a sliding loop, allowing for length adjustments. This adjustable loop is what gives the sling its name and its versatility.
Step-by-Step Guide to Making Your Whoopie Sling
Now that you have your materials, let’s begin building. Follow these steps carefully. Each step builds upon the last to create a reliable suspension system.
Step 1: Cutting Your Rope
You’ll need two lengths of rope. The exact lengths can vary based on your preference and hammock. A good starting point is one piece that’s about 8 feet long and another that’s about 10 feet long. You can always trim them down later if they seem too long.
Marking and Cutting
Measure and mark your Dyneema or Amsteel rope. Use your marker for clear lines. Cut both pieces cleanly with your sharp knife or scissors. You should now have two separate lengths of rope, ready for the next steps.
Step 2: Creating the Fixed Loop
This is where you’ll form the non-adjustable end of your sling. You’ll create an eye splice. This involves carefully folding the end of one rope back on itself.
Performing the Eye Splice
Take the shorter rope (around 8 feet). Fold about 6 inches of one end back on itself. This creates a loop. Now, use your fid or marrying tool. Insert the fid through the core strands of the rope, about an inch or two from the fold. Pull a few strands of the longer rope through the fid and into the core of the shorter rope. You are essentially tucking the longer rope into the core of the shorter one. Continue this process for a few inches, ensuring the tucks are evenly spaced. This creates a strong, secure loop. Many guides recommend about 10-12 tucks for a solid splice. Make sure the loop is the size you want for attaching to your tree strap or carabiner. You can adjust the loop size by moving where you start your tucks.
Step 3: Preparing for the Adjustable Splice
This is the more complex part. It involves creating the sliding loop. You’ll use your longer rope (around 10 feet) for this. You’ll need to splice it into itself, but with a twist.
Creating the Buried Splice
Take the longer rope. Find a point about 8-10 inches from one end. This will be the anchor point for your adjustable loop. Now, use your fid to push through the core of the rope at this marked point. Pull the very end of the *same* rope through the fid and into the core. You are essentially creating a splice where the rope goes through itself. Continue tucking the end into the core for about 4-6 inches. This creates a section where the rope can slide freely but is still held securely within its own core. This is the magic that allows for adjustment.
Step 4: Assembling the Whoopie Sling
Now you connect the two main parts. This step brings your sling to life.
Joining the Loops
Take your fixed loop (from Step 2). Thread the working end of the longer rope (the one you just made the buried splice in) through the fixed loop. You should now have two loops: the fixed one you made, and the adjustable sliding loop you just created. Pull the adjustable loop until it cinches down snugly against the fixed loop. This forms the complete whoopie sling.
Step 5: Finishing Touches and Testing
Almost there! A few final touches ensure your sling is safe and ready for use.
Sealing and Trimming
Carefully melt the cut end of your longer rope with the lighter. This seals it to prevent fraying. Do this quickly and without burning the main rope. Trim any excess material. Double-check all your splices. Ensure they look neat and secure. Test the adjustable loop by sliding it back and forth. It should move smoothly but not be loose.
Tips for a Perfect Whoopie Sling
A few extra pointers can make your whoopie sling even better. These small details can improve performance and longevity.
Choosing the Right Rope Lengths
The initial lengths of 8 and 10 feet are just starting points. If you camp in areas with very large trees, you might want longer ropes. Conversely, if you’re mostly using it for smaller trees, you can start shorter. It’s always easier to shorten a sling than to lengthen it. We found that about 10-12 feet for the adjustable side and 6-8 feet for the fixed side covers most situations.
Making Your Splices Tight
The key to a strong whoopie sling is tight splices. Work the rope as you tuck. This helps to “set” the strands firmly. Research shows that well-executed splices are stronger than knots (National Association of Rope Access Specialists). Don’t rush this part. Take your time to ensure each tuck is snug.
Practice Makes Perfect
Your first attempt might not be perfect. That’s okay! The more you practice splicing, the better you’ll become. Consider buying a bit of extra rope to practice on before you cut your main lengths. You’ll get a feel for the fid and how the rope moves. Many beginners find the buried splice the trickiest part. Patience is your best friend here.
Inspection and Care
Regularly inspect your whoopie sling for any signs of wear. Look for abrasion, cuts, or fraying. Also, check that the adjustable loop still moves freely. Proper care will ensure your sling lasts for many adventures. Many outdoor enthusiasts recommend inspecting gear before each trip.
Why Make Your Own Whoopie Sling?
You might be wondering if it’s worth the effort. We found that the benefits are numerous.
Cost Savings and Customization
Commercially made whoopie slings can be pricey. Making your own is significantly cheaper. You also get the satisfaction of creating something yourself. Plus, you can customize the length and color to your exact liking. This personal touch makes your gear feel unique.
Durability and Reliability
When made correctly with quality materials, a whoopie sling is incredibly strong and reliable. Dyneema and Amsteel ropes are designed for high-performance applications. You can trust them for your hammock setup. They are resistant to UV damage and water absorption, unlike some natural fibers.
Conclusion
You’ve now seen how making your own whoopie sling is totally achievable. It’s a smart way to save money while customizing gear for your adventures. Remember, the key is careful splicing and using quality materials like Dyneema or Amsteel. With just a few tools and a bit of patience, you’ve crafted a reliable suspension system. Your next step? Gather your materials and try making one for yourself! You’ll be impressed with what you can create.
Frequently Asked Questions
What kind of rope is best for making a whoopie sling?
For a durable and reliable whoopie sling, you’ll want to use a low-stretch, high-strength synthetic rope. Dyneema or Amsteel rope, typically around 7/16 inch (11mm) in diameter, is a popular and excellent choice among campers and arborists.
How long should the rope be when I start cutting it?
A good starting point is to cut one piece around 8 feet long for the fixed loop and another about 10 feet long for the adjustable loop. You can always trim them down later if they turn out to be too long for your needs.
What is a ‘fid’ or ‘marrying tool’ and why do I need it?
A fid or marrying tool is essentially a hollow needle. You use it to pull strands of rope through the core of another rope, which is how you create the essential splices that form the loops of your whoopie sling.
How do I make the adjustable part of the whoopie sling work?
The adjustability comes from a buried splice in the longer rope. This splice creates a section where the rope can slide freely within its own core, allowing you to cinch down and adjust the sling’s length easily.
Can I make a whoopie sling if I’ve never spliced rope before?
Yes, you can learn! While splicing might seem daunting, practicing with a bit of extra rope first can help you get the feel for it. Many find the buried splice a bit tricky, but patience and following the steps carefully will lead to success.