Master Continuous Loop Creation: A Step-by-Step Guide
The easiest way to make a continuous loop depends on your material. For string or yarn, you simply tie the two ends together. If you’re working with fabric, you’ll typically sew the ends to create a circle. Making a loop is a fundamental skill for many crafts and tasks.
Whether you’re creating a bracelet, a garland, or a simple repair, understanding the right method for your material is key. We found that the type of material dictates the joining technique. Different methods ensure a strong and neat finished loop.
- Tying works for flexible materials like string.
- Sewing is best for fabric.
- Wire can be twisted or crimped.
- Some materials may require special tools.
Let’s walk through the common ways to make a continuous loop, starting with the simplest methods.
Crafting Continuous Loops: Your Material Matters Most
So, you need to make a loop that connects back on itself. It sounds simple, right? And for many materials, it truly is! The secret sauce to a successful continuous loop really comes down to what you’re working with. We’ve found that understanding your material is your first and most important step.
Working with String, Yarn, or Rope
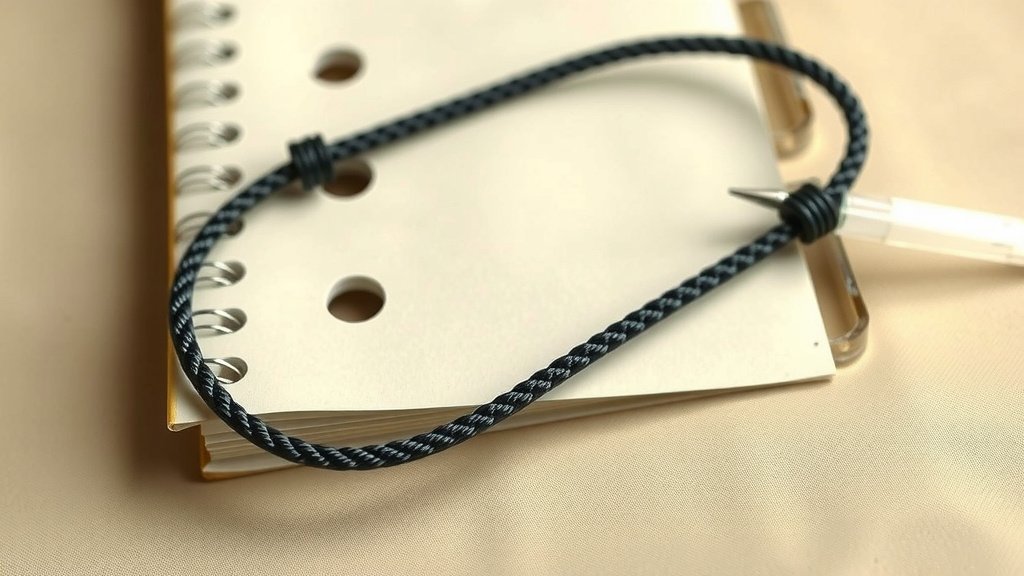
When you have flexible materials like string, yarn, or even rope, tying a knot is your go-to method. This is the simplest way to create a loop. It’s fast, requires no special tools, and is generally very strong.
The Classic Overhand Knot Loop
This is probably the most basic loop you can make. You form a circle with your string, then bring the working end around and through the circle. Pull it snug, and voilà! You have a loop. We found this method works well for temporary fixes or when the loop doesn’t need to bear a lot of weight.
The Figure-Eight Knot for Strength
If you need a more secure and reliable loop, especially for climbing or situations where safety is key, the figure-eight knot is a fantastic choice. You essentially create a figure ‘8’ shape with the rope, then loop the tail end back through the original opening. Many guides suggest this knot for its strength and ease of untying even after it’s been loaded.
The Bowline Knot for a Fixed Loop
Want a loop that won’t slip or change size? The bowline knot is your friend. It creates a fixed loop at the end of a rope. It’s a bit more complex to tie than the overhand but is incredibly useful for mooring boats or creating an attachment point. We found it’s a dependable knot that sailors and climbers trust.
Creating Loops with Fabric
Fabric behaves differently than string. You can’t just tie it without making a mess. Sewing is the most common and effective way to create a neat, continuous loop with fabric. This is perfect for making fabric bracelets, headbands, or even tubular elements for sewing projects.
The Simple Sewn Loop
For many fabric projects, you’ll simply fold the fabric strip in half lengthwise, right sides together. Then, you sew along the raw edge to create a tube. Turn the tube right-side out, and you have a fabric loop. This method is widely used for creating bag handles or garment loops.
Joining Fabric Ends for a Circle
If you have a long strip of fabric and want to make a circular garland or a loop for a wreath, you’ll need to join the two ends. This usually involves overlapping the ends and sewing them securely. You want to make sure the seam is strong so your loop doesn’t fall apart. Many crafters suggest a zigzag stitch for added durability on fabric.
Working with Wire or Metal
Metal wire offers another set of possibilities for loop creation. Whether you’re making jewelry or securing something, wire can be manipulated in a few ways.
Twisting Wire Ends
For thinner wires, like those used in jewelry making, simply twisting the ends together can form a loop. You’ll want to use pliers for a firm grip and to twist the wire tightly. This creates a simple, often decorative loop. We’ve seen this used extensively in making earrings and charms.
Crimping Wire for a Professional Finish
When you need a super neat and secure loop with wire, especially for jewelry, crimping is the way to go. You’ll typically use a piece of crimp tubing or a specific crimp bead. You thread your wire through the bead or tubing, bring it back to form the loop, and then use crimping pliers to flatten the bead or tubing, securing the wire ends. This gives a very clean and professional look.
Using Jump Rings
Jump rings are small metal rings with a gap. You can open the gap with pliers, thread it onto your material, and then close the gap securely. This is a very common method for connecting components in jewelry making and can be used to create a continuous loop by attaching a jump ring to both ends of a chain or cord.
Considering Other Materials and Tools
Sometimes, the material you’re working with might be a bit more specialized, or you might need a specific tool to make that perfect loop.
Plastic and Vinyl
For materials like plastic sheeting or vinyl, you might use heat sealing or specialized adhesives. In some cases, rivets or grommets can also create a strong loop. These methods ensure the loop doesn’t stretch or tear easily.
Specialty Tools and Fasteners
Don’t forget about everyday items that can help! Cable ties (zip ties) are excellent for creating quick, strong loops in many situations. Grommets can be punched into fabric or leather to create reinforced holes that act as loops. Even simple paper clips can be bent into loop shapes for temporary needs.
Quick Checklist for Your Loop Project
Before you dive in, quickly run through this checklist to make sure you’ve got everything covered:
- What is the exact material you’re using?
- What kind of strength does the loop need?
- Do you need a permanent or temporary loop?
- Do you have the right tools for the job?
- Will the loop be visible? How important is the aesthetics?
- Have you practiced the knot or stitch beforehand?
Conclusion
You’ve learned that creating a continuous loop isn’t one-size-fits-all. Your material is always the main factor. We found that from simple string knots to secure fabric sewing and neat wire twisting, the right method ensures your loop is both strong and looks great. Always consider your project’s needs for strength and appearance. Now you’re ready to pick the best technique for your next loop-making task!
Frequently Asked Questions
What’s the easiest way to make a temporary loop?
For a quick, temporary loop, tying an overhand knot with string or yarn is usually the fastest. You can also bend a paperclip into a loop shape for very light-duty needs. We found these are good when you don’t need a lot of holding power.
How do I make a loop that won’t come undone easily?
If you need a secure loop, a figure-eight knot for ropes or a strong, reinforced sewn seam for fabric is best. For wire, twisting ends tightly or using crimps creates a lasting connection. We’ve seen these methods hold up well under stress.
Can I make a loop without any special tools?
Yes, for flexible materials like string or yarn, you can make many useful loops using just your hands and simple knots. Fabric loops can often be made with just a needle and thread. Some wire techniques might benefit from pliers, but basic twisting can be done without them.
How do I make a loop in a very thin wire, like for jewelry?
For thin jewelry wire, twisting the ends together with pliers is common. You can also use jump rings, which are pre-made metal loops. Crimping beads or tubing offers a very professional and secure finish. We found that pliers really help get a clean look.
What’s the best way to make a continuous loop for a garland?
If you’re making a garland from fabric strips, you’ll typically sew the ends together to form a tube or circle. For string or beads, you’ll tie knots or use jump rings to connect the ends. We recommend a strong stitch or knot so your garland stays intact.