How to Hang a Hammock Indoors: Step-by-Step Guide
Yes, you can absolutely hang a hammock indoors to create a cozy relaxation spot! It’s a fantastic way to add comfort and style to your home. You’ll need the right **hanging hardware** and a few handy tools for a secure setup.
Bringing the outdoor vibe inside is easier than you think. Many people transform their living rooms or bedrooms into personal sanctuaries with a well-placed hammock. Finding the perfect spot is key for maximum enjoyment and easy access.
- Choose strong anchor points in your wall studs.
- Use appropriate hammock hooks or straps.
- Ensure the spacing is correct for your hammock length.
- Test the stability before you fully relax!
Let’s walk through exactly how to get your indoor hammock hung safely and securely, so you can start lounging in no time!
Getting Your Indoor Hammock Setup: A Step-by-Step Guide
You’re ready to bring the ultimate relaxation station into your home. Hanging a hammock indoors might seem daunting, but it’s totally doable! Let’s break down the process so you can be swaying in comfort soon.
Assessing Your Space for Hammock Installation
First things first, you need to pick the perfect spot. This means finding two solid points where you can securely attach your hammock. Most people think of walls, but sometimes ceilings or even strong beams can work.
Finding the Right Anchor Points
Your hammock needs sturdy support. We’re talking about the **structural studs** within your walls. These are the vertical pieces of wood that frame your house. They’re much stronger than drywall alone. You can usually find studs using a stud finder tool. Some people also use them to mark where to install **shelving or mounting brackets**.
Using a Stud Finder
A stud finder is your best friend here. These electronic gadgets beep or light up when they detect a stud. You’ll want to run the finder horizontally across the wall. Mark the edges of the stud. Then, find the center of the stud to drill into. This ensures you’re anchoring into the strongest part.
Alternative Anchor Points
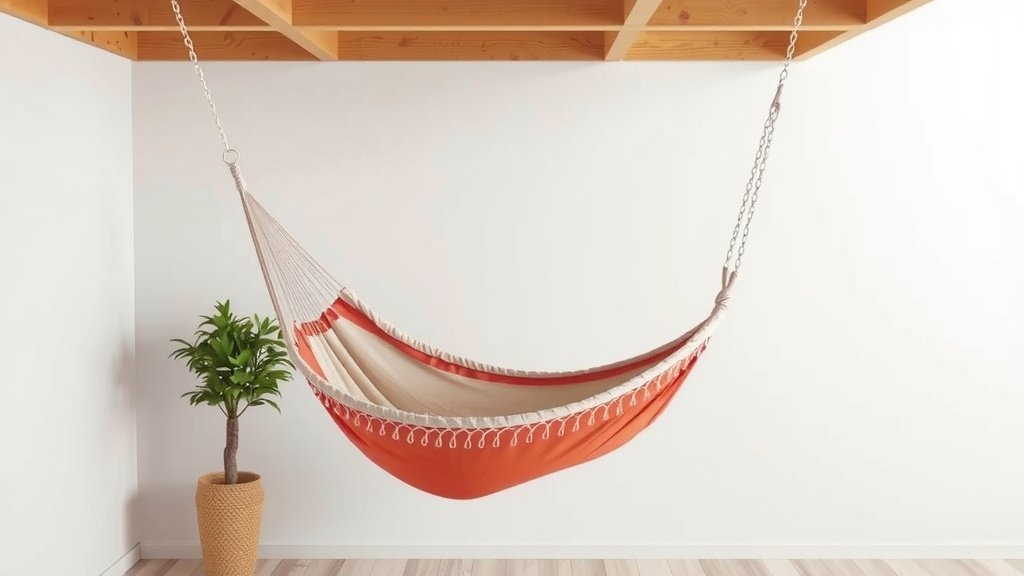
What if your desired spot doesn’t have studs conveniently spaced? Don’t worry! You can sometimes use ceiling joists if you’re comfortable working overhead. These are similar to wall studs but run horizontally across your ceiling. Ensure they are strong enough for the weight. We found that **heavy-duty eye bolts** are often used for ceiling installations.
Measuring for Proper Hammock Spacing
Spacing is super important. Too close, and your hammock will be too tight and uncomfortable. Too far, and it might sag too much or put too much stress on the anchors. A good rule of thumb is to space your anchor points roughly the length of your hammock, plus a little extra. This is often around 10-15 feet.
Hammock Length vs. Anchor Spacing
Hammock lengths vary, so check your hammock’s specifications. Generally, a 10-foot hammock might need anchors about 12 feet apart. A 12-foot hammock might need anchors around 14-15 feet apart. We found that a common mistake is not accounting for the sag. Your hammock will hang in a curve, not a straight line.
The Ideal Sag Factor
You want a nice, gentle curve. Think of a smile! About a 30-degree angle for each end is often cited as a good starting point. This ensures even weight distribution and a comfortable lounging position. Too flat means too much tension. Too much sag means you might hit the floor!
Choosing the Right Hammock Hanging Hardware
You can’t just nail a screw into the wall and call it good. You need hardware specifically designed to hold weight. Hammock hooks or specialized mounting kits are your best bet.
Types of Hammock Hooks and Mounts
There are a few common options. You’ll find **heavy-duty screw hooks** that are designed to go deep into studs. There are also more elaborate **mounting kits** that might include eye bolts, carabiners, and straps. For versatility, some people use tree-saver straps if they have a beam or post they can wrap around.
Screw Hooks vs. Eye Bolts
Screw hooks are generally easier to install. You just screw them into the stud until the collar is flush with the wall. Eye bolts often require drilling a pilot hole first and then screwing them in. Many experts recommend eye bolts for their **superior strength and durability**.
Weight Capacity Matters
Always check the weight capacity of your hardware. Your hammock, plus anyone or anything in it, will exert a significant force. You don’t want your hardware failing, so err on the side of caution. Look for hardware rated for at least 300-500 pounds, depending on how many people will use it.
Using Hammock Straps for Versatility
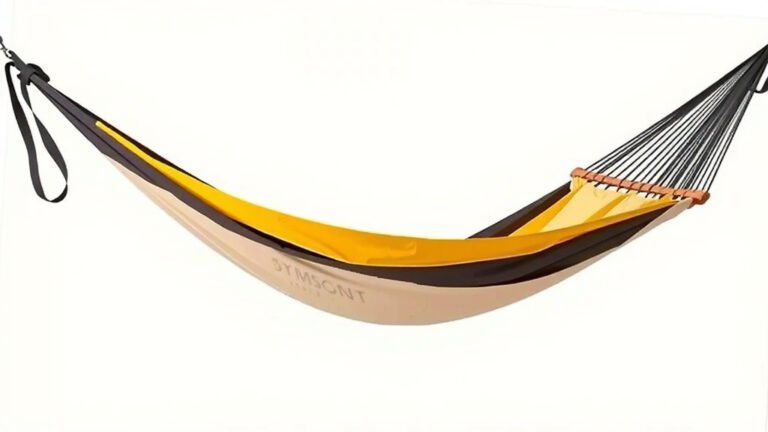
Hammock straps are fantastic if you don’t want to drill into your walls or if your anchor points aren’t perfectly aligned. These are wide, durable straps that you loop around a sturdy object, like a strong beam, a structural post, or even a very sturdy doorway frame. You then attach your hammock to the loops on the straps.
How Straps Work
You simply wrap the strap around your anchor point and thread one end through the other. Then, you clip your hammock’s carabiner or rope to one of the sewn loops on the strap. This method is **non-damaging to your home** and highly adjustable.
| Hardware Type | Pros | Cons | Best For |
|---|---|---|---|
| Screw Hooks | Easy installation, common | Requires drilling into studs, fixed position | Permanent indoor setups in stud walls |
| Eye Bolts | Very strong, secure | Requires pilot hole drilling | Strong, permanent indoor setups |
| Hammock Straps | No drilling, adjustable, portable | Requires suitable anchor objects (beams, posts) | Renters, adjustable positioning, temporary setups |

Installation Steps for Your Indoor Hammock
Now for the actual hanging! Let’s go through the steps methodically. Safety first, always!
Step 1: Locate and Mark Your Studs or Joists
As we discussed, use your stud finder to locate the center of your studs. Mark these spots lightly with a pencil. Make sure they are level with each other, or account for a slight angle if needed for comfort.
Step 2: Drill Pilot Holes (If Necessary)
If you’re using eye bolts or some heavy-duty screw hooks, you’ll need to drill a pilot hole. The hole should be slightly smaller than the screw threads. This makes it easier to drive the hardware in and prevents the wood from splitting.
Step 3: Install Your Hardware
Screw your hooks or eye bolts firmly into the marked spots. Make sure they are seated as deeply and securely as possible. For eye bolts, use a wrench or pliers to help tighten them fully.
Step 4: Attach Your Hammock
Now, connect your hammock to the installed hardware. If using straps, loop them around your anchor points and attach the hammock. If using hooks or eye bolts, you might use carabiners or rope. Ensure all connections are secure.
Step 5: Test Thoroughly Before Relaxing
This is the most critical step! Before you fully sink into your hammock, **test its stability**. Gently pull down on the hammock with your weight. Sit down slowly. Listen for any creaking or straining sounds. Gradually increase your weight. A quick test run is vital!
Here’s a quick checklist to ensure you’ve got it right:
- Confirmed anchor points are sturdy studs or joists.
- Hardware is rated for sufficient weight capacity.
- Spacing is correct for your hammock length and desired sag.
- All hardware is securely installed and flush against the wall/ceiling.
- Hammock is properly attached with secure knots or carabiners.
- Tested the stability gently before fully sitting.
Conclusion
You’ve learned how to bring the relaxing vibes of a hammock right into your home! Finding the right anchor points in your studs or joists is key. Choosing the correct hardware, whether it’s heavy-duty hooks or versatile straps, ensures your setup is safe. Remember to measure carefully for the perfect spacing and that comforting sag. Always test your hammock thoroughly before settling in for a well-deserved rest. Now you’re ready to create your own cozy indoor retreat!
Frequently Asked Questions
Can I hang a hammock from my ceiling?
Yes, you can hang a hammock from your ceiling if you have strong ceiling joists to anchor into. Use heavy-duty eye bolts drilled into the center of a joist. Ensure the joist can support the weight of the hammock and its occupants.
What if I can’t find wall studs?
If you cannot locate studs, consider using sturdy ceiling joists or strong beams if your space allows. Hammock straps wrapped around posts or even a very robust doorway frame can also work. Avoid anchoring directly into drywall as it will not hold the weight.
How much weight can a typical indoor hammock setup hold?
Most indoor hammock hardware, when properly installed into studs or joists, can safely hold between 300 to 500 pounds. Always check the specific weight capacity of the hardware you purchase and ensure it’s rated for your needs.
Do I need special tools to hang a hammock indoors?
You will likely need a stud finder to locate wall studs or ceiling joists. A drill is necessary for pilot holes if you’re using eye bolts or some types of screw hooks. A measuring tape is essential for correct spacing.
How do I know if my anchor points are strong enough?
Your anchor points must be structural wood, such as wall studs or ceiling joists. Drywall alone is not sufficient. If you’re unsure about the strength of your potential anchor points, it’s best to consult with a professional contractor or handyman.