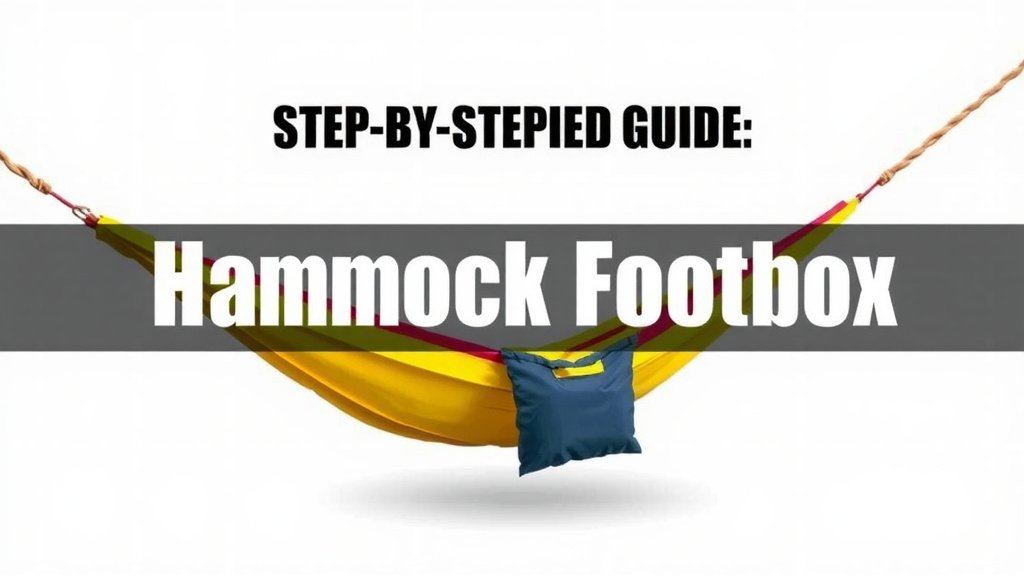
How to Add a Hammock Footbox: A Step-by-Step Guide
You can absolutely add a footbox to your hammock! It’s a fantastic way to extend your sleeping space and keep your feet cozy. Think of it as giving your hammock a little bedroom extension, making it more comfortable for longer trips.
Many hammock campers find that a footbox drastically improves their sleep setup. It helps prevent drafts from chilling your feet and creates a more enclosed, tent-like feel. This simple addition can transform your hammock into a true four-season shelter if you’re willing to put in a little work.
- Add a footbox to your hammock for more comfort.
- It helps keep your feet warm and draft-free.
- Consider it a DIY upgrade for better sleep.
- This can make your hammock feel more like a tent.
Ready to get started? We’ve gathered the key steps and considerations to help you successfully add a footbox to your hammock.
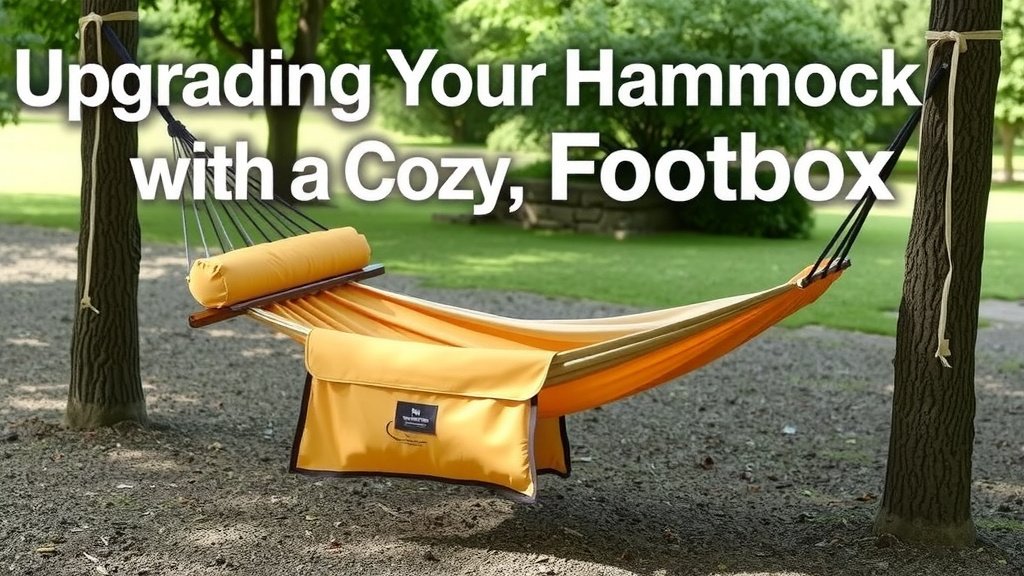
“`htmlUpgrading Your Hammock with a Cozy Footbox
Adding a footbox to your hammock is a brilliant way to boost comfort. It can make a huge difference, especially during cooler weather. Think of it as creating a personal cocoon for your feet. This simple modification can help keep you warmer and more comfortable. It’s a popular DIY project for many hammock campers.
Why Add a Footbox? The Benefits You’ll Enjoy
So, why go through the trouble of adding a footbox? It really comes down to two main things: **warmth and comfort**. Your feet are often the first to get cold when you’re sleeping outdoors. A footbox acts as an extra layer of insulation. It helps trap body heat right where you need it most. This can prevent that miserable feeling of ice-cold toes. Many users report much better sleep after adding this feature.
Beyond just warmth, a footbox can enhance your overall comfort. It creates a more enclosed and secure feeling. This can be especially nice if you tend to feel exposed in a traditional hammock. It helps reduce drafts that might sneak in from below. Some even say it makes their hammock feel more like a cozy, enclosed bed. This makes your hammock a much more viable option for longer trips or cooler seasons. It’s a surprisingly effective upgrade.
Types of Hammock Footboxes
When you decide to add a footbox, you’ll find there isn’t just one way to do it. The most common approach involves adding an extra section of fabric to the end of your hammock. This section is often a different shape than the main body. It’s designed to snugly fit around your feet. You might see designs that are rectangular, trapezoidal, or even tapered.
The material you choose also matters. Many people opt for the same fabric as their hammock for consistency. Others might choose a warmer, more insulated material. Some advanced designs might even incorporate features like drawstrings. These can help cinch the footbox closed. Researching different styles can help you decide what will work best for your setup. It’s all about finding the right fit for your needs. The material you choose for your footbox can impact its performance; learn more about hammock materials.
Materials You’ll Need for Your DIY Footbox
Gathering the right materials is the first step in this project. You’ll need some basic supplies. Having these on hand will make the process much smoother. Don’t worry, it’s not a long or expensive list. Most of these items are readily available online or at fabric stores.
Fabric Selection
The primary material is, of course, fabric. You’ll want a durable fabric that matches your hammock’s material. Common choices include nylon or polyester ripstop. These are lightweight and strong. You might need about 1 to 2 yards, depending on the size of your hammock and the footbox design. Consider if you want an insulated layer. Some people use a fleece or down-filled fabric for extra warmth. Research suggests that a fabric with a DWR (Durable Water Repellent) coating can also be beneficial for outdoor gear (Outdoor Industry Association).
Thread and Tools
You’ll need strong, durable thread. Upholstery thread or heavy-duty polyester thread is recommended. It needs to withstand stress. A sewing machine is highly recommended for this project. You’ll need one capable of handling heavier fabrics. A walking foot attachment can be very helpful for sewing slippery materials like nylon. You might also need fabric scissors, pins, and a measuring tape.
The Step-by-Step Process: Adding Your Footbox
Now, let’s get to the exciting part: building your footbox! This process requires a bit of sewing skill, but it’s manageable. We’ve broken it down into clear steps to guide you through it.
Step 1: Measure and Cut Your Fabric
First, you need to determine the size and shape of your footbox. Lay your hammock flat. Decide how deep you want the footbox to be. Measure the width of your hammock at the foot end. You’ll typically cut a rectangular piece of fabric. A common size might be 3 feet by the width of your hammock. Remember to add seam allowance, usually about half an inch on all sides. You might want to draw a pattern on paper first. This helps visualize the final shape.
Step 2: Prepare the Hammock End
Before attaching the new fabric, you might need to reinforce the end of your hammock. If your hammock has a gathered end, you’ll be sewing onto that gathered section. Some people like to add a small strip of webbing. This can provide extra strength where the footbox attaches. You’ll want to sew this webbing securely onto the existing gathered end.
Step 3: Sew the Footbox Panel
Now, take your cut fabric for the footbox. You’ll likely need to fold over and hem the raw edges. Then, you’ll attach it to the end of your hammock. Pin the footbox fabric to the end of your hammock, right sides together. Carefully sew along the edge. Use a strong stitch, like a double-stitched seam for durability. Ensure you’re sewing through all layers securely. A strong seam is critical here.
Step 4: Finishing Touches
Once the main panel is attached, you might want to add finishing touches. If you’re creating a draft collar, you can sew a channel around the opening. You can then run a drawstring through it. This allows you to cinch the footbox closed. Many people find this makes a big difference in warmth. Double-check all your seams. Trim any excess threads. You’ve just created your own custom footbox!
Considerations for Different Hammock Types
Not all hammocks are created equal, and your footbox should reflect that. The method of attachment might change slightly depending on your hammock’s design.
For Gathered-End Hammocks
Most DIY footbox projects are designed for gathered-end hammocks. These are the most common type. You’ll be sewing your footbox panel onto the gathered end. The key is to ensure a secure and even attachment. Make sure your new fabric distributes the stress evenly across the gathered threads.
For Bridge Hammocks
Bridge hammocks have a different structure. They use spreader bars to create a flatter sleeping surface. Adding a footbox here might be less straightforward. You might need to adapt your design. Some bridge hammock users opt for external solutions. These could include a draft tube or a separate foot bag that attaches with clips. It’s less about sewing onto the hammock itself. It’s more about adding a complementary accessory.
Tips for a More Comfortable Footbox
Want to make your new footbox even better? Here are a few extra tips we’ve found helpful:
- Test the fit: Before you sew permanently, lay in your hammock. See how the footbox drapes. Adjust if needed.
- Consider length: Make sure the footbox is long enough for your feet. You don’t want your toes hitting the end.
- Insulation: If you camp in cold weather, consider adding an insulated layer. This will significantly increase warmth.
- Drawstring: A drawstring is highly recommended. It seals out drafts effectively.
- Weight: Keep in mind that adding fabric adds weight. Choose lightweight materials if this is a concern.
Essential Checklist for Your Footbox Project
Before you start cutting and sewing, run through this quick checklist:
- Hammock measured accurately for desired footbox dimensions?
- Durable fabric chosen and cut with seam allowance?
- Strong, suitable thread selected for sewing?
- Sewing machine in good working order?
- Pins, scissors, and measuring tape ready?
- Do you have a plan for reinforcing seams if necessary?
Conclusion
Adding a footbox to your hammock is a smart DIY project that significantly boosts your comfort and warmth. You’ve learned how to select the right materials and the essential steps to sew your own footbox. This upgrade can truly transform your hammock into a cozier shelter, especially for cooler evenings or longer trips. Don’t let cold feet cut your adventures short. Take the leap, gather your supplies, and get ready to enjoy a more comfortable night’s sleep under the stars. Your hammock will thank you for it!
Frequently Asked Questions
Will adding a footbox make my hammock heavier?
Yes, adding fabric will increase your hammock’s weight. However, by choosing lightweight ripstop nylon or polyester, you can minimize the added bulk. The extra comfort and warmth gained often outweigh the slight increase in weight for many hammock campers.
What’s the best way to make a footbox draft-proof?
A drawstring is your best friend for a draft-proof footbox. By sewing a channel around the opening and threading a cord through it, you can cinch the footbox tightly around your feet. This effectively seals out cold air.
Can I add a footbox to a brand new hammock?
Absolutely! It’s often easier to add a footbox to a new hammock before it’s seen extensive use. This way, you can ensure the attachment points are strong and evenly distributed from the start.
How do I know how big to make the footbox?
Measure the width of your hammock at the foot end and decide how deep you want the footbox to be. Lay in your hammock to test the drape before sewing. You want it deep enough to comfortably cover your feet without feeling cramped.
What if I don’t have a sewing machine?
While a sewing machine makes the job much easier and stronger, it’s possible to hand-sew a footbox. Use a strong, durable thread and a sturdy stitch like a backstitch. Be sure to reinforce all seams for maximum strength and longevity.