How to Whip a Rope Hammock End: A Step-by-Step Guide
You can easily whip a rope hammock end by creating a simple, secure loop. This technique involves using a marlinspike hitch or a similar method to form a strong, reliable point for hanging. Properly whipping the ends keeps your hammock from fraying and ensures it stays safely attached, so you can get back to relaxing without worry. It’s a surprisingly quick and effective fix.
When you notice wear on your hammock’s rope ends, it’s time to learn how to whip them. This isn’t just about making things look neat; it’s about maintaining structural integrity. Protecting the fibers from spreading out helps prevent further damage and ensures your hammock’s longevity. It’s a small bit of maintenance that makes a big difference.
- Learn the basics of whipping rope ends.
- Discover the marlinspike hitch method.
- Understand why whipping is important for hammocks.
- See how to make it secure for hanging.
Ready to give your hammock a new lease on life? Let’s walk through exactly how to whip those rope ends so you can get back to enjoying your hammock.
Securing Your Hammock: How to Whip Rope Ends
Whipping the ends of your rope hammock is a simple yet **essential maintenance task**. It stops the ropes from unraveling. This keeps your hammock safe and ready for relaxation. Let’s get your hammock ready for its next adventure.
Why Whipping Your Hammock Ends Matters
Ever seen a rope start to fray? It’s like a tiny tear in your favorite sweater. For a hammock, fraying ropes aren’t just unsightly; they can become a real safety hazard. Whipping creates a **tight binding** that holds the rope fibers together.
Preventing Fraying and Unraveling
Rope ends naturally want to spread out. This is especially true with natural fibers like cotton or polyester used in many hammocks. Over time, this can lead to significant unraveling. Whipping acts like a **strong stitch** holding everything in place. This prevents the rope from becoming weak.
Ensuring Hanging Security
Your hammock’s connection points need to be **absolutely solid**. If the ropes at the ends start to fray, they can weaken. This weakens the entire hanging system. A well-whipped end ensures a **secure loop** for attaching your hammock. You can then hang with confidence.
Extending Your Hammock’s Lifespan
A little bit of care goes a long way. By taking the time to whip the ends, you’re actively preventing damage. This means your hammock will **last much longer**. Think of it as giving your hammock a little protective hug.
Gathering Your Whipping Supplies
Before you start, let’s make sure you have everything you need. It’s a pretty straightforward list. You won’t need any fancy equipment.
The Right Kind of Cord
You’ll need a strong, slightly waxy cord for whipping. Artificial sinew or a good quality nylon cord works well. Look for something that’s durable and won’t easily break or stretch. About 18-24 inches of cord is usually enough for one end. We found that a cord with a bit of grip is easier to work with.
Essential Tools
- Scissors: For cutting the whipping cord.
- Lighter or Matches: To seal synthetic cord ends.
- Marlinspike (Optional but helpful): For tightening and tucking.
- Needle (Optional): A sturdy needle can help tuck ends.
The Marlinspike Hitch Method: A Step-by-Step Guide
This is a popular and effective way to whip rope ends. It creates a very secure binding. Don’t worry if it sounds complicated; we’ll break it down into simple steps.
Step 1: Prepare the Rope End
Start with the very end of your hammock’s rope. You want to whip about 1 to 1.5 inches up from the absolute end. This gives you a good surface area to work with. Ensure the rope is clean and dry before you begin.
Step 2: Create the Initial Loop
Take your whipping cord. Fold it in half, creating a loop at one end. Place this loop against the rope you’re going to whip. The loop should point towards the end of the rope. This loop will be used to cinch everything tight later on. Many sources suggest this loop should be about an inch long.
Step 3: Begin Wrapping the Cord
Take the two loose ends of your whipping cord. Start wrapping them tightly and neatly around the rope. Wrap them over the loop you just created. Make sure your wraps are **close together and snug**. No gaps! Keep wrapping until you’ve covered about 1 inch of the rope.
Step 4: Secure the Whipping with a Cinch
Now comes the clever part. You should have two loose ends of the whipping cord sticking out from your wraps. You also have the initial loop. Take the two loose ends and pass them *under* the wrapping you just did. Bring them out the other side, next to where the initial loop is. This is where the marlinspike hitch really shines.
The Cinch Action
Gently pull on the initial loop. As you pull, the two cord ends you just tucked underneath will be drawn into the whipping. They get pulled tight against the rope. This action cinches the entire whipping securely. You want to pull until the knot is **very tight and snug**. It should feel like one solid piece.
Step 5: Trim and Seal the Ends
Once the whipping is tight, carefully trim the two loose cord ends. If you used a synthetic cord (like nylon), gently melt the ends with a lighter. This prevents them from unraveling. Just a quick touch is all it takes. Be careful not to burn the main hammock rope! For natural cords, you might need to tie a very small knot or tuck the ends very securely.
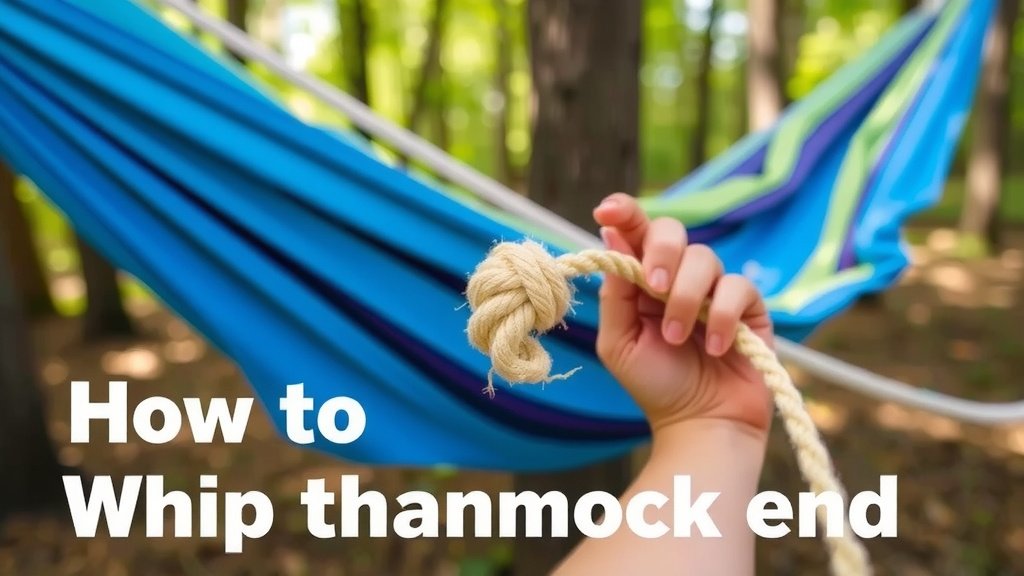
Alternative Whipping Techniques
While the marlinspike hitch is excellent, other methods exist. Some are even simpler if you’re in a pinch.
The Simple Wrap Method
You can simply wrap the cord very tightly around the rope end. Start by tying a secure knot at one end of your desired whipping area. Then, wrap the cord repeatedly and tightly over itself. Once you reach the other end, tie another secure knot. Tuck this knot underneath the wraps if possible. This method is quick but might not be as durable as the marlinspike hitch.
Using a Fid or Needle
If you have a fid or a sturdy needle, you can use it to help tuck the ends of your whipping cord. This is especially helpful for creating a very clean finish. After cinching, you can use the fid to create a small space under the wraps. Then, push the cord ends into this space and pull tight.
A Quick Checklist for Success
Here’s a handy checklist to make sure you’ve got everything covered:
- Chosen a strong, durable whipping cord.
- Gathered scissors and a lighter (if using synthetic cord).
- Ensured the rope end is clean and dry.
- Created a secure initial loop for the cinch.
- Wrapped the cord tightly and evenly.
- Pulled the cinch knot incredibly snug.
- Trimmed and sealed the excess cord ends.
Troubleshooting Common Whipping Issues
Sometimes things don’t go perfectly the first time. Here are a few common hiccups and how to fix them.
Whipping Isn’t Tight Enough
Did your cinch not pull tight? You might need to start over. The key is to pull that initial loop with **significant force**. If it’s loose, it won’t hold. Ensure the cord ends are tucked well under the wraps before you pull.
Cord Ends Keep Unraveling
This is usually a sealing issue. Make sure you’re using the lighter correctly on synthetic cords. For natural fibers, you might need a tiny dab of strong glue or a very well-tied knot that’s tucked away. Many find that a bit of beeswax can also help keep natural fiber cords from fraying.
Whipping Looks Messy
Neatness counts for durability! Try to keep your wraps **tight and consistent**. Avoid overlapping too much or leaving large gaps. Practice a few wraps on a scrap piece of rope first. Your second attempt will look much better than your first, we promise!
Conclusion
You’ve learned how to give your rope hammock ends the care they deserve. Whipping these ends is a simple but smart way to prevent fraying and ensure your hammock remains secure. By following the marlinspike hitch method, you create a durable connection that will hold up to countless relaxing afternoons. Don’t let worn ends keep you from enjoying your hammock. Take these steps today and get ready to hang with confidence!
Frequently Asked Questions
How long should the whipping cord be?
For most hammock rope ends, about 18-24 inches of whipping cord is sufficient. This gives you enough length to create a secure binding and tie it off properly. It’s always better to have a little extra cord than not enough.
Can I use regular string for whipping?
It’s best to use a strong, durable cord specifically designed for whipping or a similar application, like artificial sinew or nylon cord. Regular string might not be strong enough and could fray or break over time, compromising the safety of your hammock.
What if I don’t have a marlinspike?
While a marlinspike makes the process easier, you can still whip your hammock ends without one. You can use a sturdy screwdriver, an awl, or even the blunt end of a strong pen to help create space and tighten the cord. The key is to get the wraps snug.
How tight does the whipping need to be?
Your whipping should be very tight and snug, almost like a solid knot. It needs to compress the rope fibers effectively to prevent them from unraveling. You should feel that it’s secure and won’t loosen under tension.
How often should I check my hammock’s whipping?
It’s a good idea to inspect the whipping on your hammock ends at least once a year, or before each hanging season. Look for any signs of wear, loosening, or fraying. If you notice any issues, it’s time to re-whip that end.