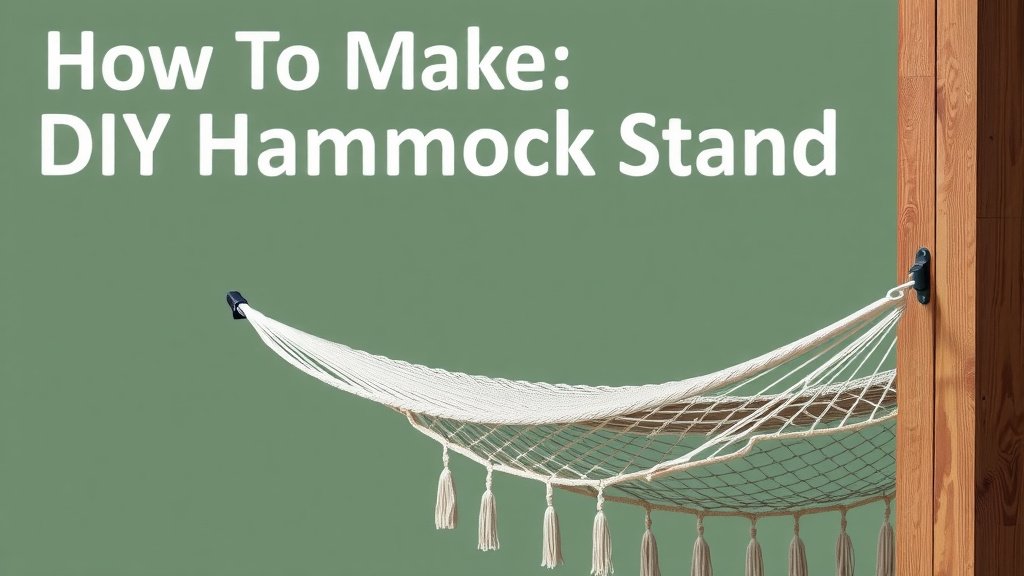
Build Your Own DIY Hammock Stand: A Step-by-Step Guide
Yes, you can absolutely make your own hammock stand! Building a DIY hammock stand is a rewarding project that saves money and lets you customize its look. We’ve found many designs are quite straightforward to construct, even for beginners.
Having a dedicated hammock stand means you can hang your hammock anywhere your heart desires, not just between two perfectly spaced trees. It opens up possibilities for your backyard oasis or even for taking your relaxation on the go. Many DIY plans focus on sturdy and safe designs.
- Build a hammock stand yourself for a custom look.
- Save money compared to buying a pre-made stand.
- Enjoy hammock relaxation wherever you want.
- Many plans are beginner-friendly and require basic tools.
Ready to create your own relaxation station? Let’s walk through exactly how to build a hammock stand step by step.
Building Your Own Hammock Stand: A Simple Guide
You’re ready to build your very own hammock stand. This project is more achievable than you might think. We’ve found many designs are perfect for DIY beginners. You can enjoy a custom hammock setup without breaking the bank. Let’s get started on creating your personal relaxation spot!
Choosing the Right Design for Your Hammock Stand
The first step is deciding on the type of stand you want. There are several popular DIY designs. Each offers unique benefits. Think about your space, available tools, and the kind of hammock you’ll be using. We found that simplicity is often best for a first-time build.
A-Frame Hammock Stand
The A-frame design is incredibly stable and looks great. It uses two leg pieces that form an ‘A’ shape on each side. A spreader bar connects the top of the ‘A’s, and the hammock attaches in the middle. This design is great for portability. It can often be taken apart for storage or transport. Many plans use common lumber sizes, making it easy to find materials. Research indicates this is a very popular choice for its balance of stability and ease of assembly.
Curved or Arched Hammock Stand
If you prefer a more modern or elegant look, consider an arched stand. This design often uses fewer pieces but requires precise cuts and joinery. It can be made from wood or metal. Metal versions might require welding, which is a more advanced skill. Wooden arched stands can be beautiful but might be more challenging for beginners. We found that wooden arched designs often look like a piece of art.
X-Frame Hammock Stand
Similar to the A-frame, the X-frame uses two sets of legs that cross in the middle, forming an ‘X’ shape. This creates a wide, stable base. It’s a straightforward design that can be built with basic woodworking skills. This style is known for its durability and can support heavier loads. Many plans suggest using larger lumber for the legs to ensure maximum strength.
Essential Materials and Tools You’ll Need
Before you buy anything, it’s wise to gather a detailed list. This prevents multiple trips to the hardware store. Having everything on hand makes the building process smoother. We found that a well-prepared project is a successful project.
Common Lumber Choices
For wooden stands, you’ll typically need sturdy lumber. Pine is a common and affordable choice. Cedar or redwood are more weather-resistant but costlier. Pressure-treated lumber is also an option for outdoor use. Always choose straight boards with minimal knots. Check the wood for any signs of warping or damage. Experts often recommend using 2x4s or 2x6s for the main structural parts.
Hardware and Fasteners
You’ll need screws, bolts, and possibly washers. For outdoor stands, use galvanized or stainless steel hardware. This prevents rust. Eye bolts or heavy-duty hooks will be needed for attaching the hammock. Make sure these are rated for significant weight. We found that using lag bolts for critical joints adds considerable strength.
Tools for the Job
Basic woodworking tools are usually sufficient. You’ll likely need a saw (hand saw or power saw), a drill with various bits, a tape measure, and a pencil. Sandpaper or a sander is important for smoothing rough edges. A level ensures your stand sits evenly on the ground. Safety glasses are a must for protecting your eyes. If your design involves angled cuts, a miter saw can be very helpful.
Step-by-Step: Building a Simple A-Frame Hammock Stand
Let’s walk through building a straightforward A-frame stand. This is a great starting point for most DIYers. We’ll focus on a design that’s robust and relatively easy to assemble.
Cutting Your Lumber
You’ll need to cut several pieces for the legs, the spreader bar, and possibly some cross braces. For a typical stand, you might need four long pieces for the legs, two shorter pieces for the top of the ‘A’s, and one or two longer pieces for the spreader bar. Always measure twice and cut once. Precision here makes a big difference in the final product.
Assembling the ‘A’ Frames
Take two leg pieces and one top piece. Arrange them to form an ‘A’. You’ll attach the legs to the top piece with screws or bolts. Ensure the angle is consistent on both sides. You might want to add a cross brace lower down the legs for extra stability. Repeat this process for the second ‘A’ frame. This creates the foundation of your stand.
Connecting the Frames with the Spreader Bar
Now, you’ll connect the two ‘A’ frames. Use a long spreader bar for this. Attach the spreader bar to the very top of each ‘A’ frame. This is where your hammock will eventually hang. Use strong bolts for this connection. Some designs also add a center support or stabilizing bar between the two ‘A’ frames. This further enhances stability and load-bearing capacity.
Adding the Hanging Hardware
At the center point of the spreader bar, install your hammock hardware. This is typically a heavy-duty eye bolt. Drill a pilot hole first, then screw in the eye bolt. Make sure it’s securely fastened. Some people add a washer on the inside and outside for added security. You can also use a sturdy metal ring or carabiner to attach your hammock to the eye bolt.
Finishing Touches and Safety Checks
Once assembled, sand down any rough edges. This prevents splinters. If your stand will live outdoors, apply a weather-resistant sealant or paint. This protects the wood and extends its life. Finally, perform a thorough safety check. Ensure all bolts are tight and the stand is stable. Try putting some weight on it before you fully relax. We found that a little extra sanding goes a long way for comfort and aesthetics.

Considering Alternative Hammock Stand Materials
While wood is a popular choice, other materials can be used. Metal pipe or PVC pipe can be fashioned into sturdy stands. These might require different tools and techniques, like cutting pipe and using connectors or welding. A metal pipe stand, for instance, can be very durable and weather-resistant. However, cutting and joining metal often requires specialized tools not everyone has at home. Research suggests PVC pipe stands are best for lighter-duty hammocks and are usually temporary solutions.
| Material | Pros | Cons | Skill Level |
|---|---|---|---|
| Wood | Readily available, customizable, aesthetically pleasing. | Can be heavy, requires weather treatment for outdoor use. | Beginner to Intermediate |
| Metal Pipe | Very durable, weather-resistant, strong. | Requires specialized cutting/joining tools (welding possible), can be heavy. | Intermediate to Advanced |
| PVC Pipe | Lightweight, inexpensive, easy to cut and assemble. | Less durable, not ideal for heavy hammocks or prolonged outdoor exposure, can look less premium. | Beginner |
Quick Checklist for Your Hammock Stand Build
- Finalize your chosen design and gather plans.
- Purchase all necessary lumber and hardware.
- Gather all your tools and safety equipment.
- Measure and cut all your pieces accurately.
- Assemble the main frame components.
- Install hardware for hammock attachment.
- Sand, finish, and test for stability.
Conclusion
You’ve learned that building your own hammock stand is totally achievable! We’ve covered popular designs like the A-frame and X-frame, discussing the materials and tools you’ll need. Remember to prioritize sturdy lumber and the right hardware for a safe, lasting stand. Don’t forget the finishing touches like sanding and weatherproofing. Your DIY hammock stand is within reach, ready to bring comfort and relaxation to your favorite outdoor spot. Get your plans ready and start building your personal oasis today!
Frequently Asked Questions
What is the easiest type of hammock stand to build?
The A-frame hammock stand is generally considered the easiest for beginners. Its design relies on simple angles and straightforward assembly. Many plans use common lumber sizes, making material gathering simple. You’ll find this design offers great stability without overly complex joinery.
How much weight can a DIY hammock stand typically hold?
A well-built DIY hammock stand, especially an A-frame or X-frame using sturdy lumber like 2x4s or 2x6s, can typically hold between 300 to 500 pounds. This is usually more than enough for one or two people. Always use strong hardware like lag bolts and ensure your chosen design is rated for your needs.
Do I need to treat wooden hammock stands for outdoor use?
Yes, absolutely. If your hammock stand will be exposed to the elements, treating the wood is essential for longevity. You can use a weather-resistant sealant, stain, or exterior paint. This protects the wood from moisture, UV rays, and insects. Proper finishing ensures your stand lasts for many seasons.
Can I make a hammock stand from metal pipes?
You certainly can make a hammock stand from metal pipes, like conduit or black iron pipe. This often results in a very durable and strong stand. However, it typically requires specialized tools for cutting and joining the pipes, which might be more challenging than woodworking for some. Research specific pipe stand plans for the best approach.
What’s the best way to attach the hammock to the stand?
The most common and secure method is using a heavy-duty eye bolt screwed into the top of the stand’s spreader bar. Drill a pilot hole first for easier installation. You can then attach your hammock directly to the eye bolt using a carabiner or a strong rope loop. Ensure the eye bolt is rated for significant weight and is securely tightened.