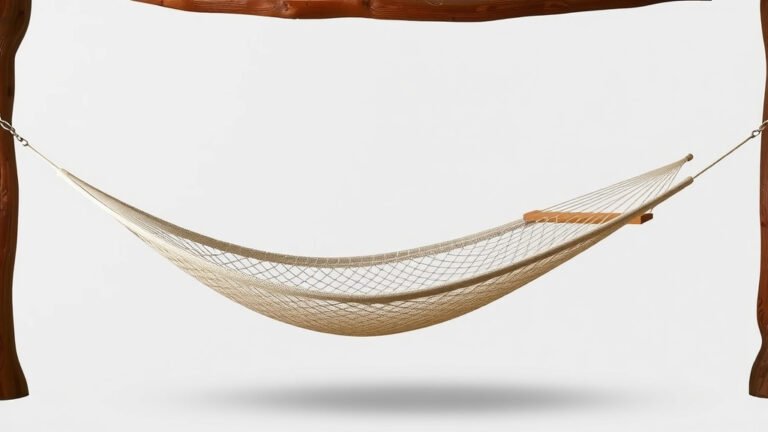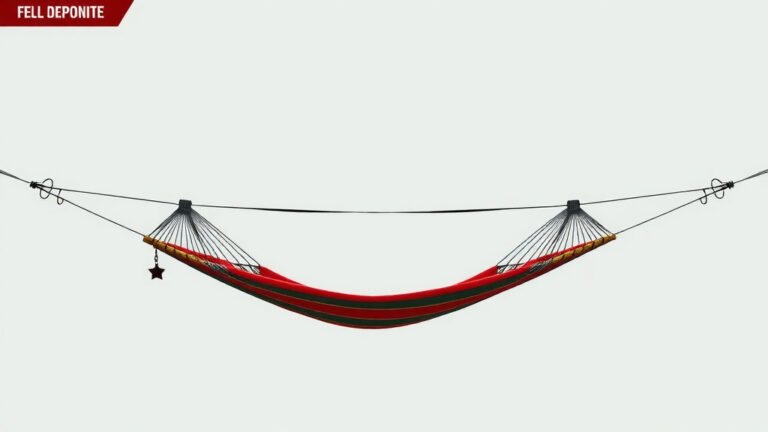
DIY Fabric Hammock: Easy Step-by-Step Guide
Making a hammock from fabric is a surprisingly simple DIY project. You can create a comfortable and sturdy hammock with just a few basic sewing skills and some durable fabric. This project is perfect for adding a relaxing spot to your backyard or for your next camping trip.
You don’t need to be a master seamstress to succeed here. Many fabric hammocks are constructed using straightforward techniques. Gathering the right materials and following clear instructions will help you build a hammock that’s both functional and stylish, providing a wonderful place to unwind.
- Choose strong, weather-resistant fabric.
- You’ll need sturdy rope or webbing.
- Basic sewing skills are helpful.
- Reinforce stress points for safety.
- Enjoy your new DIY hammock!
Let’s walk through exactly how you can make your very own fabric hammock, step by step.
Crafting Your Own Fabric Hammock
So, you’re ready to create your own cozy escape? Making a hammock from fabric is a fun project. It’s totally achievable even if you’re not a seasoned sewer. You’ll end up with a sturdy, comfortable spot to relax.
This guide will walk you through everything. We’ll cover the materials you’ll need. We’ll also detail the simple steps involved. Let’s get started on building your personal oasis.
Choosing the Right Materials for Your DIY Hammock
The secret to a great hammock is in the materials. You want something that is both strong and comfortable. It should also stand up to being outdoors, if that’s where it will live.
Fabric Selection: Durability Meets Comfort
Your fabric choice is key for a hammock that lasts. You’ll want a material that can handle weight and weather. It should also feel nice against your skin.
Recommended Fabrics
We found that certain fabrics are excellent choices. Ripstop nylon is a popular option. It’s lightweight, strong, and resists tearing. It’s often used for camping gear. Another great choice is canvas. Look for a heavy-duty cotton canvas, at least 10 ounces per square yard. This offers good durability. For a more budget-friendly option, a sturdy polyester blend can also work well. Just ensure it feels robust.
What to Avoid
Thin, stretchy fabrics like basic quilting cotton or jersey knits won’t cut it. They aren’t designed for significant weight-bearing. They could stretch too much or even tear. Always check the fabric’s weight and intended use before buying.
Hardware: Rope and Hardware Essentials
Beyond fabric, you’ll need sturdy suspension. This is what holds you up, after all!
Rope or Webbing
For connecting your hammock to trees or stands, you’ll need strong rope or webbing. Nylon rope is a good choice. Look for a diameter of at least 1/4 inch (6mm). It should have a high tensile strength rating. Polyester webbing is another excellent, low-stretch option. It’s very durable and weather-resistant. You’ll need enough to go around your anchor points and connect securely to the hammock ends.
Reinforcements and Sewing Supplies
You’ll also need heavy-duty thread. Polyester or nylon thread is recommended for its strength and weather resistance. You’ll want a sewing machine capable of handling thick fabric. A strong needle, like a denim or leather needle, is also essential. For reinforced ends, consider adding a sturdy grosgrain ribbon or webbing to create a stronger channel for your rope.
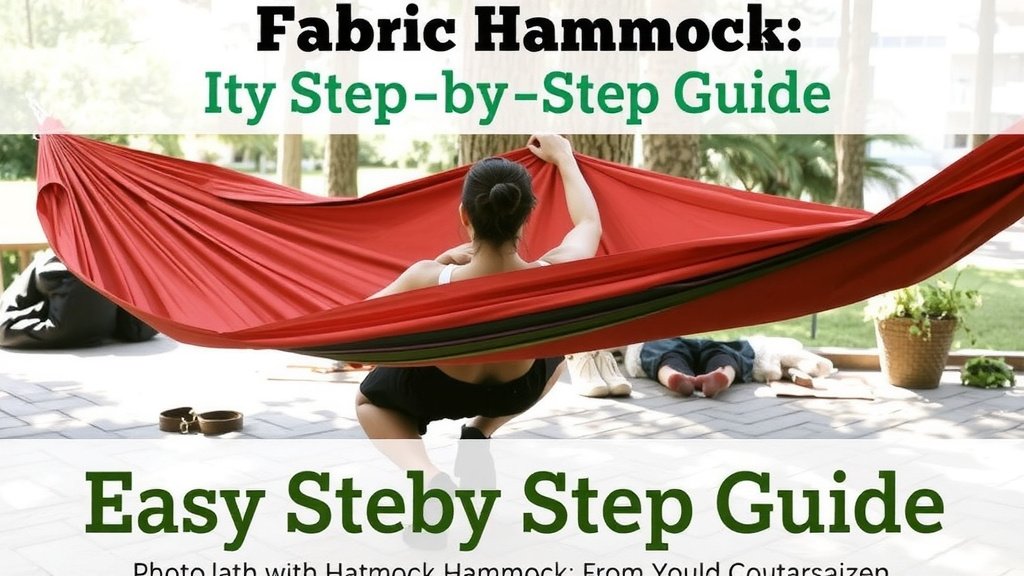
Step-by-Step Guide to Making Your Fabric Hammock
Now that you have your materials, let’s get to building! This process is quite straightforward.
Cutting Your Fabric to Size
First, you need to cut your fabric. A standard hammock size is about 5 to 6 feet wide and 9 to 10 feet long. This provides ample room. You can adjust these dimensions based on your preference.
Lay your fabric flat on a large surface. Use a tape measure to ensure accuracy. Cut the fabric carefully with sharp fabric scissors or a rotary cutter. A straight, clean cut is important for even sewing.
Hemming the Edges for Durability
Hemming your fabric adds strength and a finished look. It prevents fraying too. You’ll want to hem all four sides of your fabric rectangle.
Fold over about a 1/2 inch of the fabric along one edge. Press it flat with an iron. Then, fold it over again, about 1 inch this time. Press again. This creates a strong double hem. Sew along the inner folded edge with your heavy-duty thread. Repeat this for all four sides. Make sure your stitches are close together for maximum strength. Many sewing guides recommend a stitch length of 2.5 to 3.0 mm for heavy fabrics (Singer).
Creating Reinforced End Channels
The ends of your hammock are where most of the stress will be. You need to reinforce these areas significantly. This is crucial for safety. We found that a simple hem isn’t enough here.
Adding Webbing for Extra Strength
For each end of the hammock, fold the fabric over about 1 to 2 inches. Press it well. Instead of just sewing a hem, you’ll create a channel. You can insert a strip of strong webbing (about 1-2 inches wide) inside this fold. The webbing should run the full width of the hammock. This webbing takes the brunt of the force from the rope. Sew all the way around the channel, catching the fabric and the webbing. You want to sew multiple lines of stitching here. Think of it like sewing a very sturdy casing.
Sewing the Channel Securely
Sew the channel with a strong stitch pattern, like a zig-zag stitch or a straight stitch with reinforced ends. You might sew over the channel two or three times. Ensure the stitching goes through all layers of fabric and the webbing. This reinforced channel is where your suspension rope will pass through. A sturdy channel prevents the rope from tearing through the fabric.
Attaching Your Suspension System
Now it’s time to connect your hammock to its suspension. This is the part that actually holds you up!
Threading the Rope or Webbing
Take your strong rope or webbing. Thread it through the reinforced end channels you just created. You’ll want to use a large safety pin or a bodkin to help guide it through. Make sure you thread it all the way through one end and out the other.
Securing the Ends
Once the rope is through the channel, you need to secure it. Tie a very strong knot. A figure-eight knot or a double fisherman’s knot is often recommended for climbing ropes. If using webbing, you might use a buckle or a webbing clamp. Ensure the knot is tight and won’t slip. You’ll do this for both ends of your hammock. Leave enough rope or webbing extending from the knot to easily attach to your anchor points.
Final Inspection and Testing
Before you relax, a quick safety check is essential. You’ve worked hard, and you want to enjoy your hammock safely.
Carefully inspect all your stitching. Are there any loose threads? Does the reinforced channel feel solid? Gently pull on the ends. You want to feel confident in its strength. Then, it’s time for a test! Hang your hammock securely. Start by gently putting some weight in it. Gradually increase the weight. Listen for any strange noises. A well-made hammock should feel secure and stable.
Checklist for Your DIY Hammock Project
- Cut fabric to size.
- Hem all four edges.
- Reinforce end channels with webbing.
- Sew channels multiple times.
- Thread and securely knot suspension rope.
- Inspect and test for safety.
Conclusion
You’ve successfully learned how to craft your own comfortable fabric hammock! By selecting the right materials and following these straightforward steps, you’ve built a personal oasis. Remember, reinforcing those end channels is your key to a safe and durable hang. Your DIY hammock is now ready for countless lazy afternoons and peaceful stargazing nights. The next step is simple: find the perfect spot, hang it securely, and relax!
Frequently Asked Questions
What’s the best way to test my homemade hammock for safety?
Before fully relaxing, hang your hammock in a secure location. Start by gently putting some weight into it, like sitting down slowly. Gradually increase the weight to ensure all stitching and knots hold firm. Listen for any creaking or unusual sounds that might indicate a weak point.
Can I use a regular sewing machine for this project?
Yes, a standard sewing machine can work, but you’ll need the right needle and thread. Use a heavy-duty needle, like one for denim or leather, and strong polyester or nylon thread. You may need to sew over stress points multiple times to ensure adequate strength.
How much fabric do I need to buy for a standard hammock?
For a typical hammock, you’ll want a piece of fabric roughly 5 to 6 feet wide and 9 to 10 feet long. This allows for ample body support and comfortable lounging. Always measure your space and adjust these dimensions to fit your needs.
What kind of knots are best for securing the hammock ropes?
For reliable suspension, strong knots are essential. Knots like the figure-eight knot or a double fisherman’s knot are excellent choices as they are secure and less likely to slip under pressure. Always ensure your knots are tied tightly and are easy to inspect.
Can I make a hammock without sewing?
While this guide focuses on sewing, some no-sew hammock designs exist. These often involve knotting techniques or using pre-made fabric panels with grommets. However, a sewn hammock generally offers greater durability and customization options for strength and comfort.