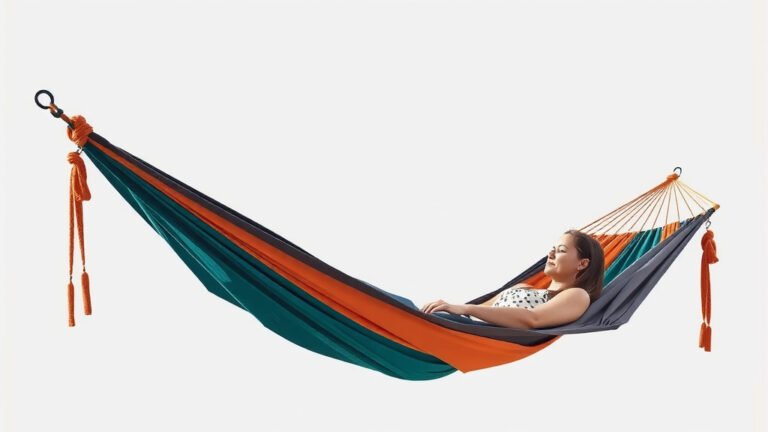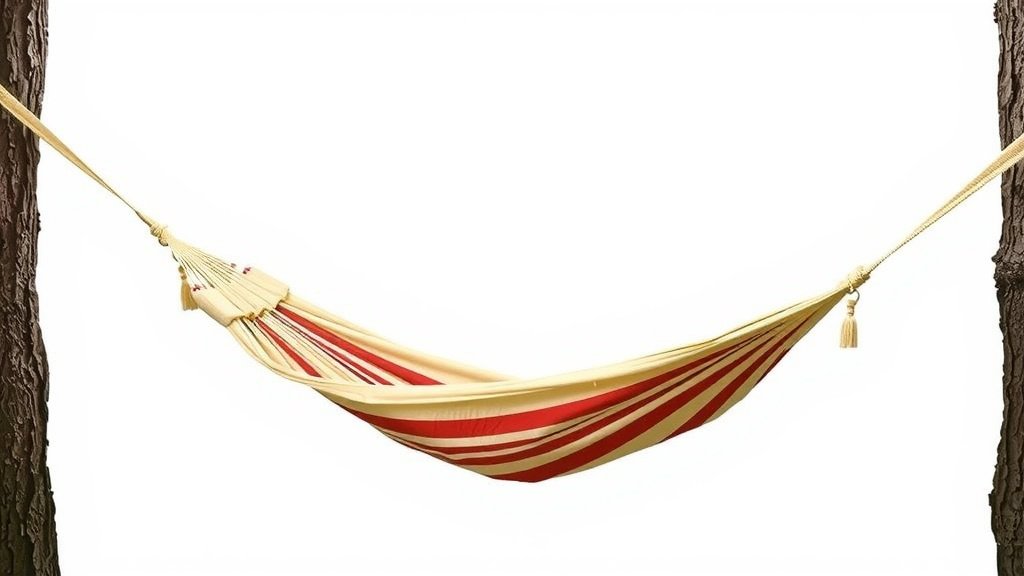
How to Make a Hammock: Simple DIY Guide
Making your own hammock is a surprisingly achievable DIY project! You can easily craft a comfortable and durable hammock with basic sewing skills and some sturdy fabric. This project is perfect for adding a relaxing touch to your backyard or for your next camping trip. It’s a rewarding way to create your own personal slice of paradise.
Gathering the right materials is key for a successful hammock build. You’ll need strong, weather-resistant fabric and heavy-duty thread to ensure your creation can support your weight safely. Many experienced crafters recommend using materials like canvas or ripstop nylon for their excellent durability and comfort. Planning your dimensions ensures it will be the perfect size for you.
- Choose strong, weather-resistant fabric.
- Use heavy-duty thread for durability.
- Measure carefully for your desired size.
- Consider adding reinforced stitching for extra strength.
- Prepare your suspension system (ropes or straps).
Ready to get your hands a little crafty? Let’s walk through exactly how to make your very own hammock, step by step!
“`htmlYour Hammock Crafting Journey Begins
You’re ready to create your very own cozy hammock! It’s a fantastic project that doesn’t require advanced sewing skills. Think of it as making a giant, super-comfy fabric sling for relaxation. We’ll guide you through selecting the best materials and putting it all together.
Selecting the Perfect Hammock Fabric
The fabric is the heart of your hammock. You need something that’s both strong and comfortable. It also needs to stand up to the elements if you plan to hang it outdoors.
Fabric Choices for Durability and Comfort
Many seasoned hammock makers recommend specific types of fabric. These materials are chosen for their ability to hold weight and resist wear and tear.
Consider ripstop nylon. This fabric is incredibly strong for its weight. It’s designed with a special weaving technique that prevents small tears from spreading. This is a big win for longevity.
Another excellent option is heavy-duty canvas. Cotton canvas offers a natural, comfortable feel. Look for weights around 10-12 ounces per square yard. It’s a classic choice that’s proven its worth.
Polyester blends can also work well. They often offer good resistance to moisture and UV rays. This means your hammock might last longer in sunny spots. Just ensure it’s a tightly woven, durable type.
Determining Your Fabric Size
How much fabric do you need? This depends on the size of the hammock you want. Most adult-sized hammocks are about 4 to 5 feet wide. They are typically 6 to 7 feet long for the fabric body.
A good starting point is a piece of fabric that measures 5 feet wide by 6.5 feet long. This gives you ample space to stretch out. It also provides enough material for strong seams and end channels.
Remember, you’ll lose a little fabric to seams and hems. It’s always better to have a bit extra than to run short. Think about your own height and weight, too.
Essential Tools and Notions
Beyond the fabric, you’ll need a few other supplies to bring your hammock to life. Having these ready will make the process much smoother.
Your Sewing Kit Essentials
You’ll need a sewing machine. A heavy-duty machine is ideal for working with thick fabric. If yours struggles, you might need to tackle some seams by hand, which takes longer.
Get a strong needle. A denim or canvas needle is usually best. It can pierce through thick material without breaking.
Heavy-duty thread is non-negotiable. Polyester thread is a great choice. It’s strong and resistant to rot and UV damage. Look for a thread weight designed for upholstery or outdoor gear.
You’ll also need sharp scissors for cutting fabric. A measuring tape is essential for accurate cuts. Pins will help you hold fabric pieces together.
Suspension System Supplies
How will you hang your hammock? This is where the suspension comes in. You have a couple of popular options.
Rope: Strong, durable rope is a classic choice. Look for static rope, not dynamic climbing rope. Static rope stretches less, which is better for hammock stability. Polyester or nylon ropes are good. Aim for a diameter of at least 3/8 inch.
Webbing Straps: Tree-friendly hammock straps are increasingly popular. These are wide, flat straps that distribute pressure evenly on trees. They often come with a loop system for easy adjustment. Ensure they are rated for your expected weight capacity.
Don’t forget hardware if you choose rope. You might need carabiners or metal rings to connect your rope to the hammock ends. Many experts suggest using hardware rated for at least 500 pounds.

Step-by-Step Hammock Construction
Let’s get down to business! Following these steps will help you build a sturdy and comfortable hammock.
Preparing Your Fabric Panel
First, lay your fabric flat. Measure and cut it to your desired dimensions. For a standard hammock, aim for 5 feet wide and 6.5 feet long. Accuracy here prevents headaches later.
Next, you’ll hem the long edges. Fold about 1/2 inch of fabric over along each long side. Press it flat. Then, fold another 1 inch over to create a double-fold hem. This adds strength and a clean finish.
Sew along the inner folded edge of each hem. Use a strong, straight stitch. Sew slowly and carefully. This creates a reinforced side edge that won’t fray.
Creating the End Channels (Grommets or Tunnels)
The ends of your hammock need to be strong to hold the suspension. This is where you’ll create channels or add grommets.
Method 1: Fabric Tunnels. This is often the easiest and strongest method for DIYers. Fold over the short ends of your fabric similarly to the side hems. Create a wider double-fold hem. You want the folded channel to be large enough to easily pass your rope or strap through. Aim for a finished channel width of about 2 inches.
Sew this channel securely. Stitch close to the inner folded edge. Then, sew a second line of stitching about 1/4 inch away from the first. This double stitching reinforces the channel for extra strength. Many sources suggest this double stitch for critical stress points (NCBI).
Method 2: Grommets. If you prefer grommets, you’ll need a grommet setting kit. Fold the fabric for the end hem as described above. Mark where you want your grommets to go – usually two or three per end, spaced evenly.
Follow the instructions on your grommet kit carefully. This usually involves punching a hole and then using a tool to crimp the grommet in place. Grommets offer a clean look but can sometimes pull through if not reinforced properly.
Reinforcing Key Stress Points
Where the fabric meets the suspension, there’s a lot of stress. Adding extra reinforcement here is a smart move. This is especially true if you’re using grommets.
If you’re making fabric tunnels, ensure your stitching is robust. A strong zig-zag stitch can add even more durability. We found that a triple stitch is often recommended by outdoor gear makers for extreme durability.
If using grommets, consider adding a layer of strong interfacing or an extra piece of fabric behind the grommet area before setting them. This distributes the tension better. Think of it like adding a patch before a repair.
Attaching Your Suspension System
Now it’s time to connect your hammock to your hanging hardware. This is the moment of truth!
Using Rope: Thread your strong rope through the end channels or grommets. Create a secure knot, like a figure-eight follow-through or a bowline knot. Leave enough rope to adjust the length for hanging. You might loop the rope through a carabiner or a metal ring before knotting it.
Using Straps: Simply loop your hammock straps around your anchor points (like trees) and then thread the free end of the strap through its own buckle or loop. Connect these straps to your hammock’s end channels using carabiners.
Make sure everything feels secure. Double-check your knots and connections. You want to be absolutely confident in your setup.
Final Checks and Hanging Your Hammock
You’re almost there! Just a few final steps to ensure your hammock is ready for lounging.
Weight Testing for Safety
Before you fully commit your body weight, do a gentle test. Gently sit in the hammock, one person at a time. Let it stretch and settle. Listen for any strange sounds.
Gradually put more weight into it. This helps you identify any potential weak spots. If anything seems off, reinforce it before your first real relaxation session.
Finding the Ideal Hanging Spot
Choose sturdy anchor points. Two healthy trees spaced about 10-15 feet apart are ideal. You can also use hammock stands if trees aren’t available. Ensure whatever you’re using is strong enough to support the weight.
Hang your hammock at a comfortable height. A good rule of thumb is to have the center of the hammock about 18 inches off the ground when empty. This provides a nice sag for lounging.
Test the sag. You want a gentle curve, not a tight line. This curve is key to comfort and prevents putting too much strain on the anchors or your hammock. You’ve earned this relaxation!
“`Conclusion
You’ve just learned how to transform simple fabric and thread into your personal oasis of relaxation! From selecting the right sturdy materials like ripstop nylon or heavy canvas to reinforcing those critical stress points, you’re well-equipped. Remember, carefully creating those end channels and ensuring your suspension system is secure are key to a safe and enjoyable hammock. Now, take your finished hammock outside, find those perfect trees or your trusty stand, and enjoy the fruits of your labor. Your DIY hammock is ready for countless lazy afternoons!
Frequently Asked Questions
What kind of sewing machine is best for making a hammock?
A heavy-duty sewing machine is ideal for working with thick hammock fabrics. If your machine struggles with multiple layers of canvas or nylon, you might need to reinforce stitches carefully or consider hand-sewing some sections. A machine with adjustable stitch length and tension control will be most helpful.
Can I make a hammock without a sewing machine?
While a sewing machine makes it much easier and faster, you can technically make a hammock by hand. This will require a strong needle and heavy-duty thread, and a lot of patience. Hand-sewing strong, reinforced seams, especially on the end channels, is crucial for safety.
How much weight can a homemade hammock typically hold?
The weight capacity of your homemade hammock depends heavily on your material choice, stitching quality, and suspension system. Using strong, weather-resistant fabrics, heavy-duty thread, reinforced stitching, and securely rated ropes or straps can often result in a hammock capable of holding 200-300 pounds or more.
What’s the difference between fabric tunnels and grommets for hammock ends?
Fabric tunnels are created by folding and sewing the fabric ends to create a channel for suspension. This method is often considered stronger and more DIY-friendly, distributing stress along the sewn channel. Grommets are metal rings inserted through the fabric, offering a clean look but potentially creating a single point of stress that could pull through if not reinforced.
How far apart should the anchor points be for hanging my hammock?
For most standard adult hammocks, anchor points like trees or posts should be about 10 to 15 feet apart. This distance allows the hammock to hang with a comfortable sag. If your anchors are too close, the hammock will be too taut, and if they’re too far apart, you may not have enough material to connect securely.