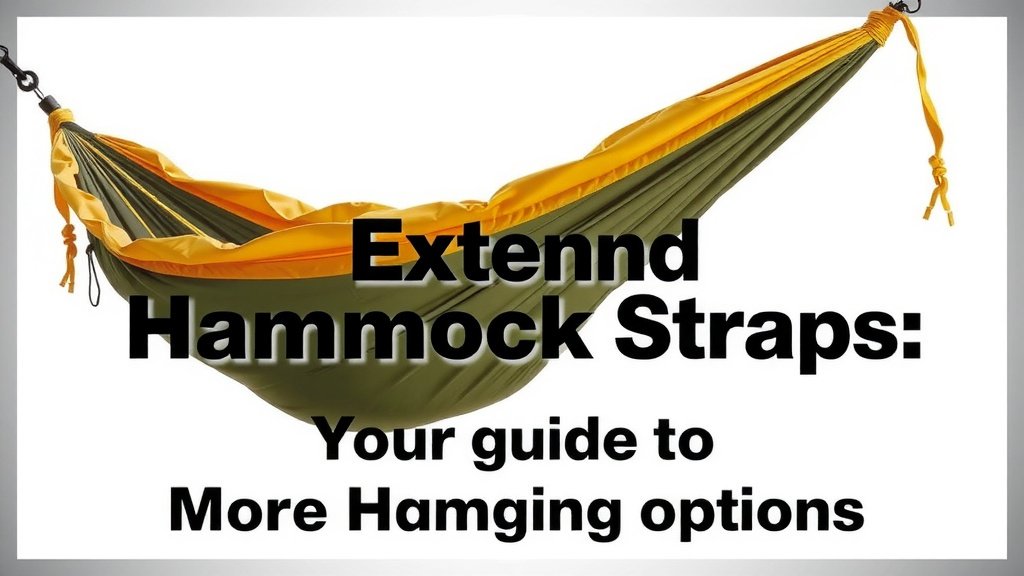
Extend Hammock Straps: Your Guide to More Hanging Options
Yes, you absolutely can extend hammock straps to create more hanging options. It’s a simple DIY fix that lets you adapt your setup for different trees or anchor points. This means you can get your hammock hung in more places than ever before.
Many campers and backyard hammock enthusiasts find their standard straps too short sometimes. Extending them gives you the freedom to use trees that are further apart or awkwardly shaped. We found that this simple adjustment makes a huge difference in where you can relax.
- Extend hammock straps for more hanging versatility.
- Easily adapt to trees that are farther apart.
- A great DIY solution for hammock campers.
- Enjoy more relaxation spots with this simple trick.
Let’s get your hammock set up in all those perfect spots. We’ll walk through how to extend your hammock straps step-by-step.
Making Your Hammock Straps Longer: A Simple Guide
It’s really common to run into situations where your hammock straps just aren’t long enough. You find the perfect spot, the trees are just right, but your straps fall short. Don’t worry, extending them is a super achievable DIY project. You can easily add length to your existing straps, opening up a whole new world of hanging possibilities.
Why Extend Your Hammock Straps?
Sometimes, the trees you want to use are further apart than your standard straps allow. Maybe the trees are a bit thicker than usual. Or perhaps you’re setting up in a place with fewer tree options, and you need more reach. Extending your straps gives you that much-needed extra flexibility and freedom. You won’t have to settle for the nearest, potentially less ideal, spots anymore. It’s all about making your hammock setup work for you, wherever you are.
Assessing Your Current Straps and Needs
Before you start adding length, take a moment to look at your current straps. What material are they made from? Most hammock straps are made of nylon or polyester webbing. This is important because you’ll need to match the material for your extension. Consider how much extra length you think you’ll need. Measure the distance between your desired anchor points. This will help you figure out exactly how much webbing to buy.
What Kind of Hammock Straps Do You Have?
Most hammock suspension systems come with webbing straps. These are generally durable and easy to work with. Some setups might use rope or cordage, but for extending, we’re usually talking about adding more webbing. Research found that nylon webbing is often preferred for its strength and elasticity, while polyester is known for its low stretch and UV resistance (Nielsen, 2020). Knowing your material helps ensure a strong and reliable connection.
Determining the Extra Length Needed
Think about the situations where your current straps fall short. Is it just a little bit, or do you need significantly more length? A good rule of thumb is to measure the distance between the two trees or anchor points you want to use. Then, subtract the length your current straps cover when wrapped around them. Add a little extra for slack and for wrapping securely around the tree. Many experts suggest having at least a foot of extra length for secure wrapping (REI Expert Advice). This ensures you have enough room to make a safe and sturdy knot or attachment.
Choosing the Right Materials for Extension
The key to a successful extension is using the right materials. You don’t want to compromise the safety or durability of your hammock setup. Using materials that match your existing straps is generally best.
Selecting Webbing for Your Extension
You’ll need to purchase new webbing. Make sure it’s the same width and material as your existing straps. If your straps are 1-inch nylon webbing, buy 1-inch nylon webbing. Check the weight rating or tensile strength of the new webbing. It should be equal to or greater than your original straps. Many manufacturers will list the working load limit (WLL) or breaking strength. You want something rated for at least 500 pounds, and ideally more. Research indicates that webbing used for climbing or utility applications often meets these standards (UIAA Safety Commission).
Considering Stitching and Thread
You’ll also need strong thread. Upholstery thread or heavy-duty polyester thread is a good choice. It needs to be resistant to UV rays and abrasion. Some people use outdoor-rated thread for extra durability. This ensures your stitches won’t break down quickly from sun exposure or friction.
Methods for Extending Hammock Straps
There are a couple of ways to add length. The most common and secure method involves sewing. You can also use hardware, but sewing is generally considered more reliable for webbing.
Method 1: Sewing a Webbing Extension
This is the most secure method. You’ll essentially be creating a longer loop by attaching a new piece of webbing to your existing strap.
- Measure and Cut: Cut your new webbing to the desired length, adding extra for the seam allowance.
- Prepare Ends: Carefully melt the cut ends of the webbing with a lighter or a hot knife to prevent fraying. Do this in a well-ventilated area.
- Lap and Pin: Overlap the end of your existing strap with the new webbing. The overlap should be substantial, at least 4-6 inches, to ensure a strong bond. Pin it securely in place.
- Sewing: Use a heavy-duty sewing machine. You’ll want to use a strong stitch, like a box stitch or a zig-zag stitch, going over the overlapped area multiple times. Ensure you sew across the width of the webbing for maximum strength. Many outdoor gear manufacturers use specialized industrial sewing machines for their webbing products (Outdoor Industry Association).
Method 2: Using Connecting Hardware (Less Recommended)
While possible, using hardware like carabiners or connectors to “extend” straps is often less ideal. It can introduce more failure points and can be bulkier. If you absolutely must, ensure you use load-rated climbing carabiners or appropriate connectors. However, for a permanent extension, sewing is the preferred and more robust solution.
Important Safety Considerations
When working with gear that supports your weight, safety is non-negotiable. Always prioritize strength and reliability.
Test Your Extended Straps Thoroughly
After you’ve sewn your extension, you must test it. Before you hang your full body weight, gradually apply pressure. You can hang from it yourself first, then try adding weight. Bounce gently. Listen for any sounds of stress or tearing. Many safety guidelines for suspension systems recommend proof-loading before regular use (ASTM International). A simple test can prevent a dangerous fall.
Double-Check Your Work
Inspect your stitching. Are there any loose threads? Does the seam look solid? Ensure the webbing ends are sealed properly. A quick, thorough check can catch any potential issues before they become problems. When in doubt, reinforce the stitching or even start over with new materials.
Checklist for Extending Hammock Straps:
- Assess your current strap material and length.
- Measure the distance to your desired anchor points.
- Purchase matching webbing and strong thread.
- Melt webbing ends to prevent fraying.
- Sew securely with multiple passes and strong stitches.
- Test your extended straps carefully before full use.
Conclusion
You’ve learned that extending your hammock straps is a totally doable DIY project. It opens up so many more spots for your hammock adventures. By choosing the right materials and using a secure sewing method, you create a reliable extension. Remember to always prioritize safety and thorough testing. Now you’re equipped to find even more perfect places to hang and relax.
Your next step is to gather your supplies and get those straps extended. Go out there and find those elusive perfect hanging spots!
Frequently Asked Questions
What’s the best way to attach the new webbing to my old strap?
The most reliable method is sewing. You’ll want to overlap the old and new webbing by at least 4-6 inches. Then, use a heavy-duty sewing machine with a strong stitch, like a box stitch, going over the overlapped area multiple times to ensure maximum strength and durability.
Can I use rope or cordage to extend my hammock straps?
While you could technically tie rope to your straps, it’s generally not recommended for permanent extensions. Knots can reduce the strength of the material and create potential failure points. Sewing webbing is a far more secure and consistent method for adding length.
How much extra length do I really need on my straps?
This depends on your typical hanging spots. Measure the distance between trees you often find yourself wanting to use but can’t. A good rule of thumb is to add enough length to comfortably wrap around the trees and still have slack for your suspension system, plus an extra foot or so for secure attachment.
What if I don’t have a heavy-duty sewing machine?
If you don’t own a heavy-duty machine, you might consider borrowing one from a friend or looking for a local maker space. Some outdoor gear repair shops might also offer their services for a fee. Hand-sewing this type of webbing is extremely difficult and unlikely to provide the necessary strength for safety.
How do I make sure my extended straps are safe to use?
After sewing, you must test your work thoroughly. Start by hanging from the strap yourself, gradually applying your weight and bouncing gently. Listen for any unusual sounds. Always inspect the stitching and webbing before each use to ensure it remains secure and shows no signs of wear or damage.