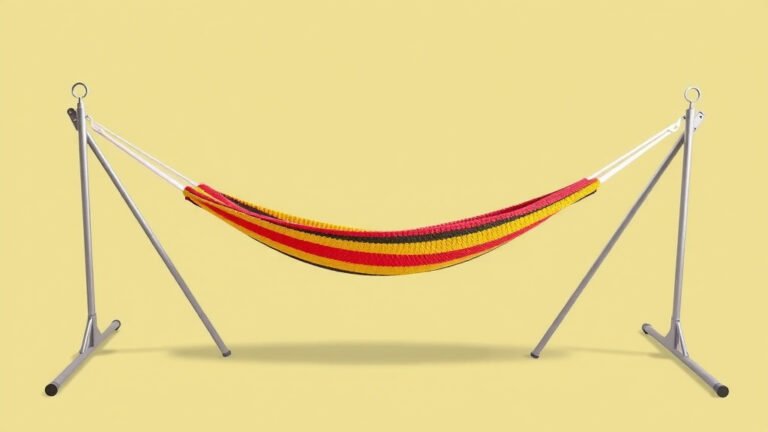
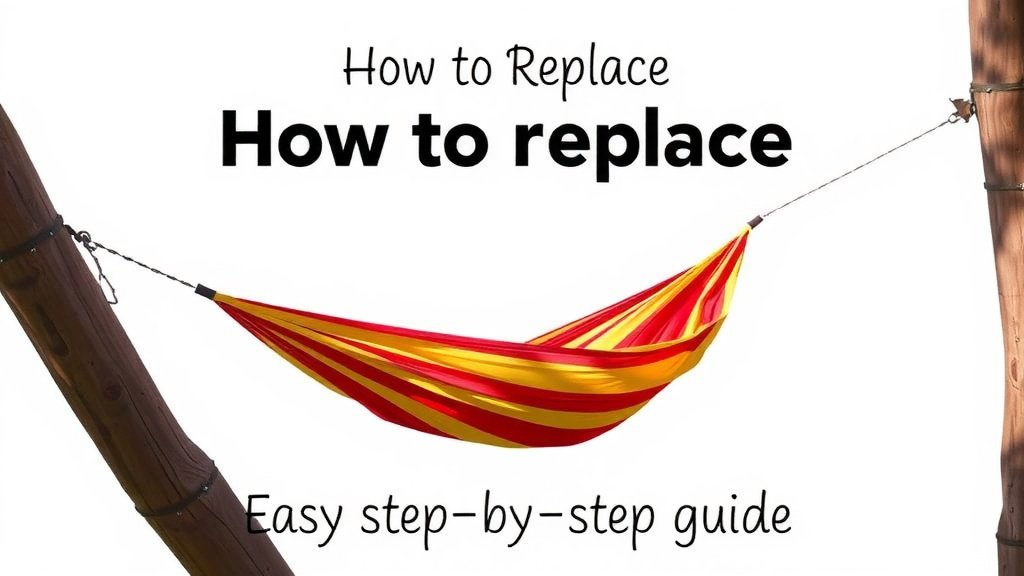
How to Replace a Hammock Spreader Bar: Easy Step-by-Step Guide
Replacing a hammock spreader bar is simple: remove the old bar, slide a new one of the same length into the spreader pockets at each end of the hammock, and secure it. Most spreader bars pop out and slide back in by hand, with no special tools needed. The whole job usually takes less than 15 minutes.
Why bother? The spreader bar keeps your hammock flat and open so it doesn’t collapse around you. Over time, wood bars can crack, warp, or splinter from weather and weight. We found that swapping in a replacement bar often costs far less than buying a whole new hammock, and many experts say it’s a fix anyone can handle at home.
TL;DR — Quick takeaways:
- Measure your old bar’s length and diameter before buying a replacement.
- Wood is the most common material, but bamboo and metal options exist too.
- Slide the new bar through the fabric pockets at both ends of the hammock.
- Sand and seal wooden bars to help them last longer outdoors.
- Test the hammock gently before putting your full weight in it.
Below, we walk you through everything you need to know about picking the right bar and installing it step by step. Let’s get your hammock back to lounge-worthy shape.
Swapping Out a Hammock Spreader Bar the Easy Way
Before you touch a single tool, know this: most spreader bars are designed to come out. They’re held in by fabric pockets or sewn channels at each end of the hammock, not glue or hardware. That means your job is mostly about patience, not strength.
We found that the biggest mistake people make is rushing. Yank too hard, and you can tear the pocket stitching. Go slow, and the whole swap feels almost too easy.
What You’ll Need
- A replacement spreader bar (or wood to make one)
- A tape measure
- Fine-grit sandpaper
- Exterior wood sealant or spar varnish
- A rag and mild soap for cleaning the pockets
That’s it. No power tools required for a standard replacement. If you’re drilling holes in a wooden bar yourself, a small drill helps, but many replacement bars come pre-drilled.
Measuring Your Old Spreader Bar
Measure twice, buy once. That old carpenter saying applies here more than anywhere. Spread bars come in a range of lengths, usually from about 40 inches for single hammocks up to 60 inches for doubles.
Measure three things: the length of the bar, the diameter (thickness) of the bar, and the distance between the hanging holes if it has them. Write these down before you shop.
Here’s a quick reference table we put together to help you match bar specs to hammock types:
| Hammock Type | Typical Bar Length | Common Diameter | Best Material |
|---|---|---|---|
| Single spreader hammock | 40–48 inches | 1–1.5 inches | Hardwood |
| Double spreader hammock | 52–60 inches | 1.5–2 inches | Hardwood |
| Rope hammock | 48–55 inches | 1.5–2 inches | Bent oak or metal |
| Camping spreader hammock | 36–44 inches | 1 inch or less | Aluminum |
If your old bar has snapped in half and you can’t measure its full length, no panic. Measure one half and double it, then subtract the amount lost at the break point.
Choosing the Right Replacement Material
Wood is the classic choice, and for good reason. It’s strong, lightweight, and easy to work with. Oak, ash, and bent-laminate wood bars are common on most backyard hammocks.
Wood vs. Bamboo vs. Metal
Wood gives you that traditional look and feel. It flexes slightly under weight, which many loungers find comfortable. The downside? It can crack and rot if you leave it in the rain year after year.
Bamboo is a solid middle ground. It’s naturally water-resistant and lighter than most hardwoods. We found that bamboo bars hold up surprisingly well outdoors when sealed properly.
Metal bars, usually aluminum, are the most durable option. They won’t rot or splinter. But they’re heavier, and some campers complain they get hot in direct sun. Ask yourself: will this hammock live outside all summer, or come inside between naps?
Should You Buy or Build?
Buying a replacement bar is the fastest route. Many hammock makers sell replacement parts, and generic bars work fine if the measurements match.
Building one is a fun weekend project if you’re handy. A hardware store can cut a hardwood dowel to size for a few dollars. Just remember to sand the ends smooth so they don’t chew up the fabric pockets.
Removing the Old Spreader Bar
Lay your hammock flat on the ground or a table. Find the pocket or channel at one end. It’s usually a sewn sleeve running along the edge of the fabric bed.
Slide the old bar out slowly. If it’s stuck, work it back and forth gently rather than pulling straight. Wobbling it loose beats tearing the seam. If the bar snapped inside the pocket, you may need to fish out fragments with needle-nose pliers.
Dealing With Sewn-In Bars
Some hammocks have bars that are fully enclosed and sewn shut. In that case, you can’t slide them out without cutting stitches. Many experts suggest using a seam ripper to open the pocket carefully, then re-stitching by hand with heavy-duty thread afterward. Our guide to mending torn hammock fabric covers the stitching basics step by step.
It sounds scary, but it’s basically undoing a hem. Take your time, and only open as much of the seam as you need.
Installing the New Bar
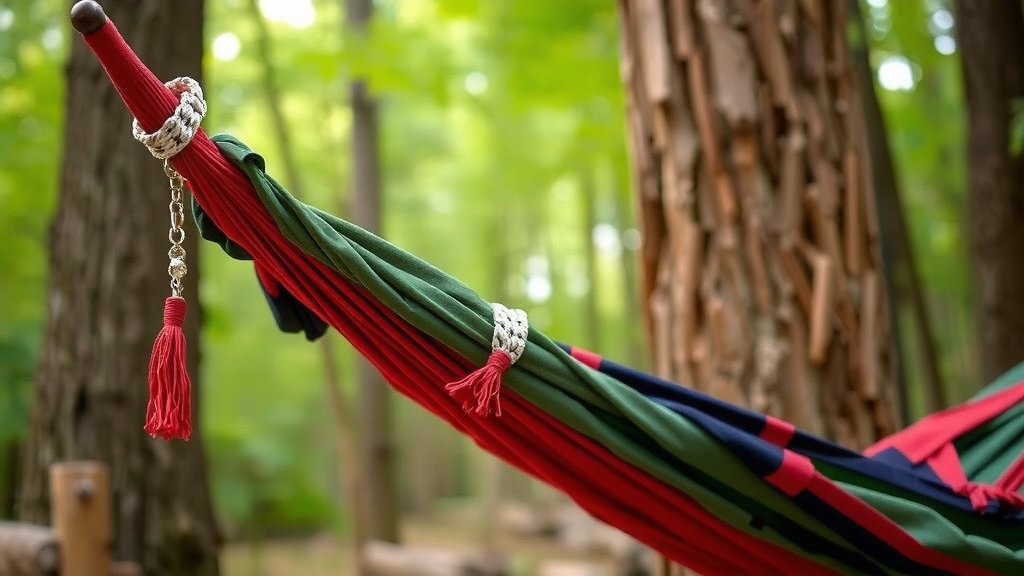
Slide one end of the new bar into a pocket, then guide the rest through the channel until it seats fully at the other end. That’s really the whole job for most hammocks.
If the fit feels tight, check for fabric bunched inside the channel. Smooth it flat with your fingers as you push. A snug but not forced fit is what you want. Forced fits tear pockets; loose fits let the bar slide around.
Prepping a Wooden Bar Before Install
Sand the entire bar with fine-grit paper until it feels smooth as a spoon. Pay extra attention to the ends and any holes.
Then seal it. Two coats of exterior spar varnish protect against sun and rain. Researchers at the USDA Forest Products Laboratory have long noted that unsealed outdoor wood degrades much faster from moisture cycling. Let each coat dry fully before flipping the bar over.
Testing Your Hammock Safely
Before you flop in with a book and a cold drink, test it. Sit down slowly and gently first. Listen for creaks, watch how the bar seats in the pockets, and check that the fabric lies flat.
Then ease your weight back in stages. It might feel silly, but your tailbone will thank you. The Mayo Clinic notes that falls are a leading cause of injury at home, and a collapsing hammock is exactly the kind of surprise fall worth avoiding.
Your Pre-Lounge Checklist
- Bar slides fully into both pockets with no gaps
- No cracks or rough spots you can feel by hand
- Sealant or varnish fully cured (not just dry to the touch)
- Pocket stitching intact with no pulled threads
- Hammock hangs level with both ends even
- Weight test done gradually before a full recline
Making Your New Bar Last
Want this to be the last spreader bar you buy for a while? A little care goes a long way. Bring the hammock indoors or under cover during heavy rain and winter months. Moisture and freeze-thaw cycles are the two biggest killers of wooden bars.
Reapply sealant once a year. Think of it like sunscreen for your hammock’s bones. A five-minute coat of varnish in spring can add years to a bar’s life.
And when you’re not lounging? Hang the hammock loosely rather than leaving it crumpled in a pile. Constant pressure on one spot can bend or crack even a brand-new bar.
That’s really all there is to it. With a fresh bar in place and a quick seal of varnish, your hammock should be back to its flat, comfy, nap-ready self in under an afternoon.
Conclusion
You’ve got this. Replacing a hammock spreader bar really is one of the easiest fixes in your backyard, and it can save you the cost of a whole new hammock. We found that the biggest wins come from measuring carefully, sliding the new bar in with patience, and sealing wooden bars before they ever touch the weather. Skip those steps, and you’ll likely be doing this again next season. Do them right, and your hammock stays flat, comfy, and safe for years of lazy afternoons. Your next step is simple: grab a tape measure, jot down your old bar’s length and diameter, and order a replacement today. Your next nap is closer than you think.
Frequently Asked Questions
Can I use a spreader bar from a different hammock brand?
Often, yes. Brands matter less than measurements. As long as the length, diameter, and hole spacing match your old bar, a generic or off-brand replacement should work just fine. Double-check the fit in the pockets before your first full lounging session.
What size dowel should I buy to make my own spreader bar?
Most single hammocks work well with a 1 to 1.5 inch hardwood dowel, while doubles often need 1.5 to 2 inches. Match the diameter of your old bar as closely as possible. A local hardware store can cut it to your exact length, usually for just a few dollars.
Why does my new spreader bar keep sliding out of the pockets?
That usually means the bar is too short or too thin for the channel. A bar that doesn’t fill the pocket can shift and pop loose under weight. We found that upgrading to a slightly thicker diameter, while keeping the length the same, solves the problem in most cases.
How much weight can a replacement spreader bar hold?
A solid hardwood or aluminum bar rated for your hammock’s size should handle the hammock’s full rated capacity, often 250 to 450 pounds. Never exceed the limit printed on your hammock’s tag. If your old bar cracked under normal use, the replacement was likely undersized or weather-damaged. Our guide to hammock weight limits explains how to find and read these ratings.
Can I replace a spreader bar without sewing if the pocket is torn?
You can patch it temporarily with heavy-duty fabric tape or a fabric repair kit, but that’s a short-term fix. For a lasting repair, hand-stitch the pocket with weather-resistant thread, or use a fabric glue designed for outdoor canvas. A failing pocket can let the bar slip out mid-lounge, so don’t put it off too long.