Easy Hammock Ridgeline Setup Guide
Making a hammock ridgeline is easier than you might think. You simply need a strong cord and a few simple knots to create a reliable anchor for your hammock setup. This will help you get the perfect hang every time.
A ridgeline is more than just a string; it’s your hammock’s best friend. It helps you achieve consistent hang angles and makes setting up your shelter a breeze. Many hammock campers swear by it for a more comfortable and adjustable experience in the backcountry.
- Use strong cord for your ridgeline.
- Learn a few basic, reliable knots.
- A ridgeline ensures a consistent hammock hang.
- It makes adjusting your setup much simpler.
- This is key for a comfortable night’s sleep outdoors.
Let’s walk through exactly how to make and attach a hammock ridgeline so you can enjoy your next campout with confidence.
Setting Up Your Hammock Ridgeline Like a Pro
So, you’re ready to take your hammock hangs to the next level. A ridgeline is your secret weapon for a perfect setup. It acts like a guiding string. This ensures your hammock hangs at the ideal angle every time. We’ll show you how to create and attach one easily.
What Exactly is a Hammock Ridgeline?
Think of a ridgeline as the backbone of your hammock system. It’s a length of cordage tied between two anchor points, like trees. Your hammock suspension then attaches to this ridgeline. This setup offers some great advantages.
Why You’ll Love Having a Ridgeline
A ridgeline brings consistency to your hang. Instead of guessing angles, you have a fixed point. This can make a big difference in comfort. Many campers find it makes their shelter setup faster and more predictable.
- Consistent Hang Angle: It removes guesswork. You’ll achieve the same comfortable angle repeatedly.
- Easy Adjustments: You can fine-tune your hammock position easily. Just move your suspension up or down the ridgeline.
- Shelter Stability: It provides a solid base for attaching your tarp. This helps keep your shelter taut.
- Simplicity: Once set up, it simplifies the entire process. You’ll be lounging in no time.
Choosing the Right Cord for Your Ridgeline
The material you choose for your ridgeline matters. You need something strong, durable, and lightweight. It will be under tension, so strength is key. Many experienced hammockers prefer specific types of cord.
Popular Ridgeline Materials
Several materials work well for ridgelines. Each has its own pros and cons. Research and found that these are the most common choices.
- Dacron/Polyester Cord: This is a very popular choice. It has low stretch, making it stable. It’s also resistant to UV rays and abrasion. Many manufacturers use this for their pre-made ridgelines.
- Amsteel/Dyneema: This is an incredibly strong synthetic rope. It’s very lightweight and has almost zero stretch. It’s a bit more expensive but offers top-notch performance. It can be slippery, so certain knots are recommended.
- Paracord (550 Cord): While many people have paracord, it’s not ideal for a ridgeline. It tends to stretch quite a bit when wet. This can lead to a saggy hammock. It’s better suited for general utility tasks around camp.
How Much Cord Do You Need?
The length depends on your hammock and typical hanging spots. A common recommendation is to add 10-20 feet to the length of your hammock itself. This gives you plenty of room to work with. For example, if your hammock is 10 feet long, aim for a 20-25 foot ridgeline. This allows for plenty of slack and adjustability.
Knots: Your Ridgeline’s Best Friends
The right knots are essential for a secure ridgeline. You need knots that are easy to tie and untie, even with cold hands. They also need to hold firm under load. We found a few go-to knots that work wonders.
Essential Ridgeline Knots
Let’s cover the knots you’ll use most often. Learning these will make your setup process smooth.
The Trucker’s Hitch (for tensioning)
This is a fantastic knot for creating mechanical advantage. It allows you to really cinch down your ridgeline. It’s like using a pulley system. You can get it nice and taut.
Here’s a simplified breakdown:
- Tie a loop at one end of your ridgeline.
- Attach this loop to one anchor point (e.g., carabiner on tree strap).
- Tie a second loop about halfway down the ridgeline. This is your “pulley” loop.
- Pass the working end of the ridgeline through the first loop (near the anchor).
- Pass the working end back through your “pulley” loop.
- Pull the working end to create tension.
- Secure the working end with a few half-hitches around the standing part.
The Bowline Knot (for a secure loop)
The bowline creates a fixed loop at the end of a rope. It’s known for being very secure and not slipping. It’s also relatively easy to untie after being loaded. This is great for attaching your ridgeline to your suspension or to the anchor itself.
The Prusik Knot (for adjustable attachments)
A Prusik knot is a friction hitch. It can slide along a rope when not under tension. When weighted, it grips the rope tightly. This is super useful for attaching your hammock suspension to the ridgeline. You can slide it to adjust your hammock’s position.
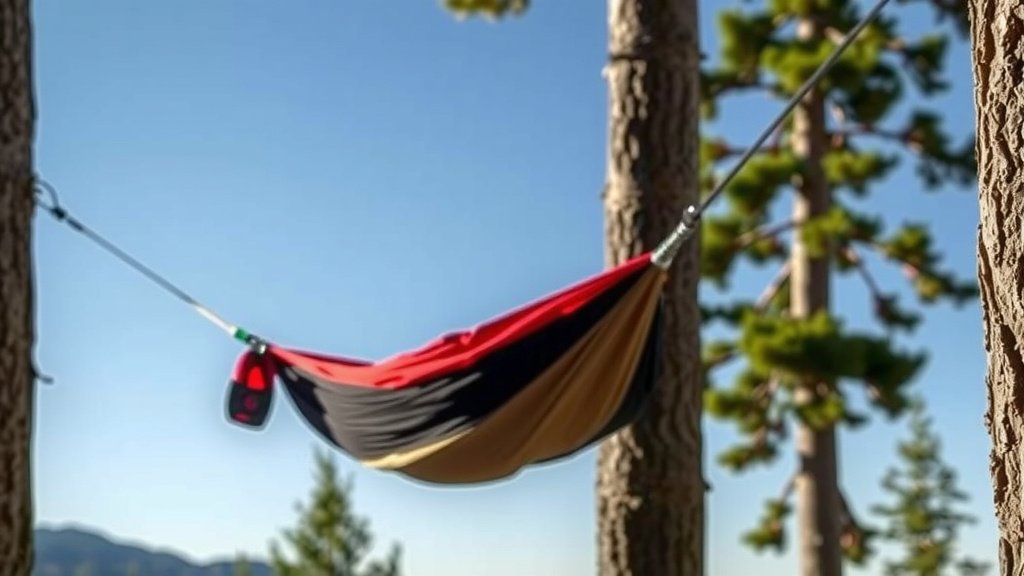
Attaching Your Ridgeline to the Trees
Now for the hands-on part. You’ll need a way to connect your ridgeline to the trees. Tree straps are the most common and tree-friendly method. You’ll need to learn about using tree straps to attach your ridgeline.
Using Tree Straps
Tree straps are wide webbing straps. You wrap them around a tree and secure them. This prevents damage to the bark. Many straps have loops sewn into them.
Here’s how you can attach your ridgeline:
- Wrap a tree strap around your chosen tree at a suitable height.
- Thread one end of the strap through its loop and pull tight.
- Use a carabiner or a loop on the strap to attach one end of your ridgeline. A bowline knot works well here.
- Repeat for the other tree.
- Use your Trucker’s Hitch on at least one side to tension the ridgeline between the trees.
Connecting Your Hammock to the Ridgeline
This is where the magic happens. Your hammock suspension will now connect to your ridgeline.
The Prusik Method
As mentioned, the Prusik knot is perfect for this. You’ll tie a Prusik loop using a shorter piece of cord. This loop will go around your main ridgeline.
- Tie a Prusik knot onto your main ridgeline.
- Attach your hammock suspension (like a whoopie sling or Whoopie Sling) to the Prusik loop using a carabiner.
- Repeat on the other side.
The beauty here is you can slide the Prusik knot up or down the ridgeline. This easily adjusts how high or low your hammock hangs. It’s quick and requires no re-tying.
Quick Checklist for Your First Ridgeline Setup
Ready to put it all together? Here’s a quick rundown:
- Gather Your Gear: Strong cord (like Amsteel or Dacron), tree straps, carabiners, and a knife.
- Measure and Cut: Cut your ridgeline cord to the desired length.
- Tie End Loops: Create secure loops at each end of your ridgeline (e.g., using a bowline).
- Attach to Trees: Use tree straps and secure your ridgeline ends.
- Tension It: Use a Trucker’s Hitch to create tension on at least one side.
- Attach Hammock: Use Prusik knots to connect your hammock suspension to the ridgeline.
With these steps, you’ll be enjoying a perfectly hung hammock in no time. It’s a small addition that makes a world of difference.
Conclusion
You’ve learned how to set up a hammock ridgeline for a better outdoor experience. It’s all about using the right cord and a few simple knots. This simple addition means you’ll get the perfect hang every time. No more guessing your hammock’s angle! You’ll enjoy more consistent comfort and easier adjustments on your next trip. So grab your gear, tie those knots, and get ready to relax. Your next hammock adventure awaits!
Frequently Asked Questions
What’s the most important part of a ridgeline setup?
The most important part is using strong, low-stretch cordage like Dacron or Amsteel. This ensures your ridgeline stays taut and reliable, even under load. A strong cord prevents sagging and helps maintain your desired hang angle for maximum comfort.
Can I use regular paracord for my ridgeline?
While paracord is versatile, it’s generally not recommended for a ridgeline. Paracord tends to stretch significantly, especially when it gets wet. This stretching can cause your hammock to sag, reducing comfort and making it harder to find that perfect hang.
How tight should my ridgeline be?
Your ridgeline should be taut, but not so tight that it puts excessive strain on your anchor points (like trees). A good rule of thumb is to be able to press down on it and get about an inch or two of give. The Trucker’s Hitch knot is excellent for achieving the right tension easily.
Do I need a ridgeline for short naps or just overnight trips?
A ridgeline can be beneficial even for short naps, but it truly shines on overnight trips. It ensures your hammock maintains a consistent, comfortable angle throughout the night, preventing discomfort from shifting or sagging. It also makes setting up your tarp much simpler and more predictable.
What is the purpose of the Prusik knot in a ridgeline setup?
The Prusik knot acts as a movable anchor point on your ridgeline for your hammock suspension. This friction hitch grips the ridgeline when weighted, holding your hammock in place. However, you can easily slide it along the ridgeline when unweighted to adjust your hammock’s hang angle without re-tying anything.