Fix Broken Hammock String: Simple Repair Guide
Yes, you can often fix a broken hammock string yourself! Most hammock string breaks are repairable with a little patience and the right knot. You’ll want to assess the damage and gather your supplies before you start. Don’t let a snapped string keep you from your relaxation.
Dealing with a broken hammock string can feel like a major setback to your lazy afternoon plans. But fear not! We found that knowing a few simple repair techniques can save your hammock. Understanding how to create a strong, secure knot is key to restoring your hammock’s support.
- Assess if the string is fraying or completely snapped.
- Gather strong, suitable cord for repairs.
- Learn a secure knot like a fisherman’s knot or a figure-eight loop.
- Work in good light and take your time.
- Test the repair gently before full use.
Let’s walk through exactly how to mend that broken hammock string and get you back to swinging in comfort.
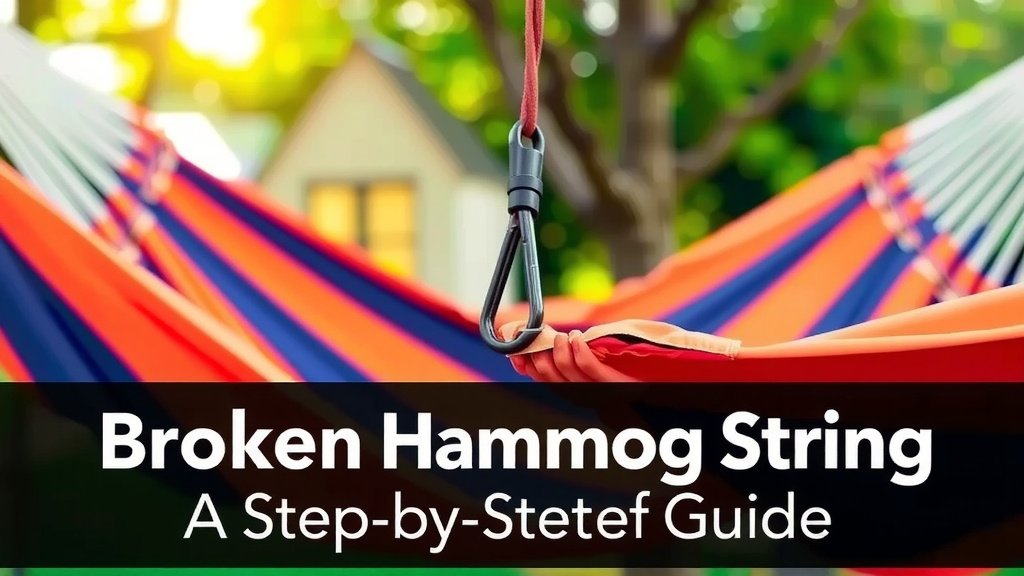
Repairing Your Hammock’s Broken String: A Step-by-Step Guide
A snapped hammock string can feel like a personal insult to your relaxation plans. But don’t despair! Many common hammock string breaks are easily repairable at home. You might just need a bit of patience and a sturdy knot. We found that identifying the exact problem is the first, most important step.
Assessing the Damage: What Exactly Happened?
Before you grab any old string, take a close look at the break. Is it a clean snap? Is the material fraying significantly, or did it just come loose from a knot? Your approach to the repair will depend heavily on the type of damage you’re dealing with.
A Clean Snap: The Most Common Scenario
Often, a hammock string will just break cleanly. This is usually the easiest type of repair. It means the hammock’s structure is still mostly intact. You just need to rejoin the two ends of the broken string securely. This often involves tying a strong knot. We found that a good knot is your best friend here.
Fraying or Weakened Material: A Precautionary Tale
If you notice your hammock string is heavily frayed or looks worn thin, it might be on its way to breaking. It’s better to address this before it snaps completely. You can reinforce the frayed area or even consider replacing sections of the string. This prevents a sudden, inconvenient break when you least expect it.
Loose Attachment Point: Re-securing the String
Sometimes, the string hasn’t broken at all. It might have simply pulled out from where it was attached to the hammock’s end loops or spreader bar. In this case, you’ll likely need to re-thread it and tie a secure knot to keep it in place. This is often a quicker fix than a full break.
Gathering Your Repair Supplies
Once you know the problem, it’s time to get your tools ready. Having the right materials makes the repair process much smoother. You don’t need a lot, but what you do need must be strong and suitable for the job.
Choosing the Right Cordage
This is critical. You need a cord that matches the original hammock string’s strength and material as closely as possible. Nylon or polyester cords are common and durable. Avoid using cheap twine or thread; it won’t hold up to the stress. Many manufacturers recommend using a cord with a similar tensile strength to the original. If you can’t match it exactly, err on the side of stronger is better.
Essential Tools You’ll Need
You’ll likely need a good pair of scissors or a sharp knife to cut your new cord. A lighter or small flame source is useful for melting the ends of synthetic cords to prevent fraying. A measuring tape can help you ensure your new cord is the correct length. Good lighting is also a must. We found that working in bright light prevents mistakes.
The Knotting Process: Creating a Secure Bond
This is where the magic happens. The knot you choose will determine how well your hammock holds up. You need a knot that is strong, reliable, and won’t slip under pressure.
The Fisherman’s Knot: A Classic for a Reason
The fisherman’s knot, also known as the English knot, is excellent for joining two ends of a rope or cord. It’s incredibly strong once tightened. To tie it, you make an overhand knot on each end of your cords. Then, you cross the working ends and tie another overhand knot with the other cord. Pulling both knots tight secures them against each other. Many knot guides recommend this for its dependability.
The Figure-Eight Loop: Another Reliable Option
A figure-eight loop is fantastic if you need to create a strong loop at the end of a cord, which can be useful for reattaching to hardware or creating a secure anchor point. It’s formed by making a figure-eight shape with the cord and then passing the tail back through the loop. It’s designed to be easy to untie after being under load, unlike some other knots.
A Quick Tip on Knot Tying
Practice your chosen knot a few times with a scrap piece of cord. Get a feel for how it tightens. Ensure you leave a decent “tail” (extra cord) after tying. This prevents the knot from unraveling. Many camping and rigging resources suggest a tail of at least 3-4 inches for critical knots.
Step-by-Step Repair: Bringing Your Hammock Back to Life
Now, let’s put it all together. Follow these steps carefully for a successful repair.
- Prepare the Area: Work in a well-lit space. Lay your hammock out flat so the broken string is easily accessible.
- Measure and Cut: Measure the length of the broken string segment. Add a few extra inches for tying your knots. Cut your new cord to this length.
- Secure the Ends: If using synthetic cord, lightly melt the ends with a lighter to prevent fraying.
- Tie the First Knot: If joining two broken ends, tie one end of your new cord to one of the broken string ends using your chosen knot (e.g., fisherman’s knot). Make it snug.
- Tie the Second Knot: Now, tie the other end of your new cord to the other broken string end. Ensure the tension is even on both sides.
- Trim and Seal: Trim any excess cord, leaving a good tail. If it’s synthetic, lightly melt the tail ends to secure them.
- Reattach (if necessary): If the string came loose from an attachment point, re-thread it and tie a secure knot there.
A Checklist for Your Hammock Repair
Here’s a quick checklist to ensure you don’t miss a step:
- Assess the break type (snap, fray, loose).
- Gather matching, strong cordage.
- Have scissors and a lighter ready.
- Practice your chosen knot.
- Leave a tail on your knots.
- Test the repair gently before full use.
Testing Your Repair Safely
Before you fully commit to lounging, you need to test your repair. Gently put weight on the repaired section. Sit down slowly, then lie back. Listen for any unusual sounds. Gradually increase the weight. You want to be absolutely sure the knot is holding firm. We found that a cautious approach prevents potential accidents.
| Material Type | Repair Cord Recommendation | Knot Strength |
|---|---|---|
| Nylon | Nylon cord (similar diameter) | Excellent |
| Polyester | Polyester cord (similar diameter) | Excellent |
| Cotton (less common) | Cotton cord or strong twine | Good (may stretch) |
Conclusion
You’ve learned that a broken hammock string doesn’t have to end your relaxation. By carefully assessing the damage, choosing the right cord, and mastering a secure knot like the fisherman’s knot, you can bring your hammock back to life. Remember to always test your repair gently before settling in for a full swing. Taking these steps means you’re ready to tackle common hammock string issues. Now go forth, make that repair, and enjoy your hammock!
Frequently Asked Questions
How do I know if I can repair my hammock string or if I need a new hammock?
If the break is isolated to one or a few strings and the hammock fabric itself is in good condition, you can likely repair it. If the fabric is significantly torn, stained, or if multiple string attachment points are failing, it might be time to consider a replacement.
Can I use any type of string to fix my hammock?
No, it’s important to use strong, durable cordage that matches the original hammock material as closely as possible, like nylon or polyester. Avoid using thin thread or everyday twine, as it won’t withstand the weight and stress.
What if my hammock string broke very close to the end loop?
If the break is extremely close to the end loop, you might need to re-tie the string directly to the loop. Ensure you use a strong knot that won’t slip through the loop and leave enough tail to secure the knot.
How long should the repair cord be?
Measure the length of the broken section of string. Add at least 6-8 inches to this measurement to give yourself enough slack to tie secure knots with decent tails on both ends. Always err on the side of a little extra length.
My hammock strings are old and look a bit worn, should I repair them preventatively?
Yes, if you notice significant fraying or weakening in several spots, it’s wise to address it before a complete break occurs. You can reinforce frayed areas or even consider replacing entire sections of older, degraded cordage to ensure safety and longevity.