Hammock Tarp Setups: Your Guide to Shelter and Comfort
Yes, setting up a hammock tarp is a fantastic way to stay dry and comfortable when camping or backpacking. A tarp acts as your personal rain shelter, protecting your hammock and your gear from the elements. Getting a good setup means better sleep and less worry about the weather.
Many campers consider a tarp as essential gear for any hammock setup. It’s not just about rain; a tarp also provides shade on sunny days and can offer privacy. Choosing the right tarp and knowing how to pitch it effectively are key to a cozy outdoor experience.
- Hammock tarps protect you and your hammock from rain and sun.
- They are a key part of comfortable hammock camping.
- Different tarp shapes offer various coverage and setup styles.
- Proper setup ensures you stay dry and protected.
Below, we’ll walk you through the basics of hammock tarp setups so you can sleep soundly on your next adventure.
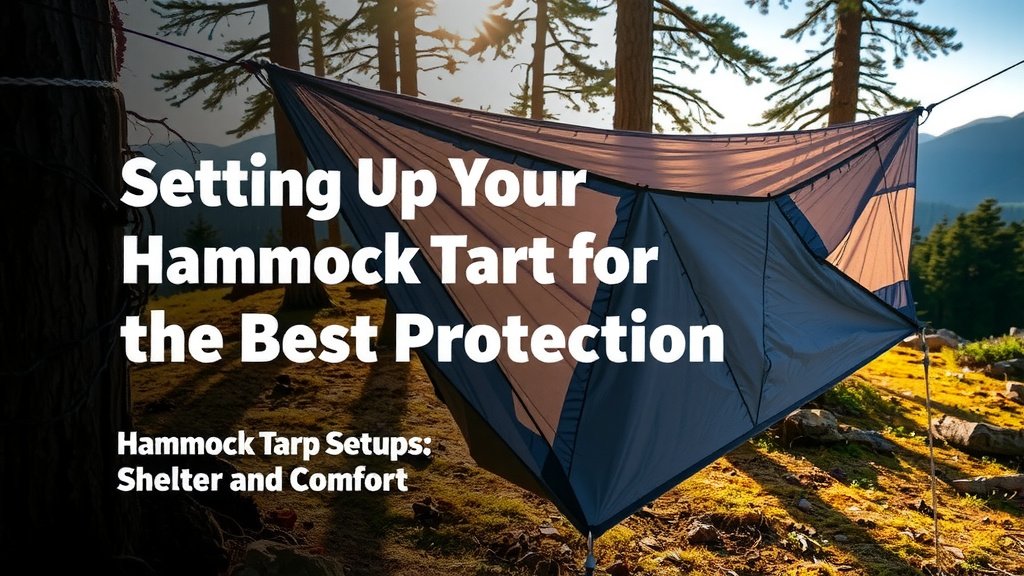
Setting Up Your Hammock Tarp for the Best Protection
A hammock tarp is your shield against the weather. It keeps you dry when it rains and shaded when the sun is strong. Getting this setup right means a much more comfortable night’s sleep. Think of it as your personal tent pitched above the ground. We’ll guide you through the essential steps to get you protected.
Understanding Tarp Shapes and Their Coverage
Tarps come in different shapes, and each offers unique benefits. The shape affects how much coverage you get and how you can pitch it. Knowing these differences helps you choose the best one for your needs. It’s not just about a flat piece of fabric; design matters for protection.
The Classic Rectangle Tarp
Rectangular tarps are the most basic and versatile. They offer a large coverage area. You can pitch them in many ways to adapt to different conditions. This shape is great for beginners because it’s straightforward to set up. It’s like a simple, large blanket for your campsite.
The Diamond Tarp
Diamond tarps are shaped like a kite or a diamond. They have fewer tie-out points than rectangles. This can make setup quicker. However, they might offer less coverage on the sides. They are lighter and often preferred for minimalist camping trips.
The Hex Tarp
Hex tarps are shaped like a hexagon, with six sides. They offer a good balance of coverage and weight. Their shape often allows for a more streamlined pitch. This means less fabric flapping in the wind. Many experienced campers favor hex designs.
The Asymmetrical Tarp
Asymmetrical tarps have a unique, off-center design. One side is usually longer than the other. This design is optimized for a specific setup style. It often provides excellent rain protection from one direction. It’s a smart choice if you know the prevailing wind and rain patterns.
Essential Tarp Pitching Techniques
Pitching your tarp correctly is as important as choosing the right one. A good pitch means you’ll stay dry and comfortable. A poor pitch can leave you exposed to the rain. Let’s look at common methods that work.
The Basic A-Frame Setup
The A-frame is a very common and effective setup. You string a ridgeline from tree to tree. Then, you attach the tarp to this ridgeline. The sides of the tarp are staked out to the ground. This creates a tent-like structure over your hammock. It provides excellent rain and wind protection.
The Porch Mode Setup
Porch mode is great for fair weather or when you want more open space. You still use the ridgeline. However, you pitch the sides of the tarp up and out. This creates a covered porch area. It’s perfect for sitting in a camp chair or storing gear. It offers shade and some protection.
What Gear Do You Need for a Tarp Setup?
You don’t need a ton of gear to set up your tarp. Most tarps come with basic tie-out cords. You might want to enhance your setup. Having a few extra items makes pitching easier. It also makes your shelter more secure.
- Hammock Tarp: The main event, of course!
- Ridgeline Cord: For hanging the tarp between trees.
- Stakes: To anchor the tarp corners to the ground.
- Extra Guy Lines: For added stability and adjustability.
- Tarp Tensioners: Make adjusting guy lines much easier.
- Carabiners: Can speed up attachment points.
Tips for a Watertight Hammock Tarp Pitch
Keeping water out is the primary job of your tarp. A few simple tricks can make a big difference. You want to create a solid barrier against rain. Here are some tips we found that help:
- Angle Your Tarp: Pitch your tarp with a slight angle. This allows rain to run off easily. Avoid creating flat areas where water can pool.
- Tighten Guy Lines: Make sure all your guy lines are taut. Loose lines can sag, allowing water to drip inside.
- Use a Drip Line: For extra protection, consider running a short cord inside the ridgeline. This “drip line” catches any water that might seep through the ridgeline.
- Check for Holes: Inspect your tarp before each trip. Small tears can turn into major leaks. Patch them up before you go.
- Proper Ground Stakes: Use stakes that are appropriate for the ground. Soft soil needs longer, wider stakes. Rocky ground might require different types.
A Checklist for Your Next Tarp Setup Adventure
Before you head out, make sure you have everything ready. This checklist will help you pack and prepare. It’s a quick way to ensure you don’t forget anything important for your shelter.
- Pack your tarp and all its accessories.
- Check your ridgeline cord for fraying.
- Ensure you have enough ground stakes.
- Bring extra guy lines and a few carabiners.
- Practice pitching your tarp at home first.
- Know your preferred setup style.
Conclusion
You’ve now got a solid understanding of hammock tarp setups. Choosing the right tarp shape and mastering pitching techniques are key. Remember, your tarp is your shield against the elements, ensuring a cozy night’s sleep. With the right gear and a little practice, you’ll be set for any adventure. So, get out there and start planning your next trip. Your perfectly pitched tarp awaits!
Frequently Asked Questions
How do I choose the best tarp shape for hammock camping?
Consider the coverage you need and your camping style. Rectangular tarps offer maximum versatility, while hex and diamond shapes often provide a good balance of coverage and weight. Asymmetrical tarps are great if you know the prevailing weather patterns.
What’s the easiest tarp setup for a beginner?
The A-frame setup is generally considered the easiest. You create a basic ridgeline between two trees and pitch the tarp over it like a tent. This method offers excellent protection and is straightforward to learn.
Can I use my hammock tarp without trees?
Yes, you can pitch a tarp without trees by using trekking poles or a dedicated tarp pole. You’ll stake out the tarp’s corners and potentially the ridgeline to the ground, creating an A-frame or other configuration.
How do I prevent my tarp from leaking?
Ensure your tarp is pitched with a slight angle so water runs off, not pools. Keep all guy lines taut, and consider using a drip line along the ridgeline for extra protection. Always check your tarp for small holes or tears before your trip.
How important are extra guy lines and tensioners?
Extra guy lines give you more options for securing your tarp, especially in windy conditions. Tarp tensioners make adjusting these lines much easier, allowing you to quickly tighten or loosen them as needed without re-tying knots.