How to Hang Gear from a Hammock Ridgeline: Simple Guide
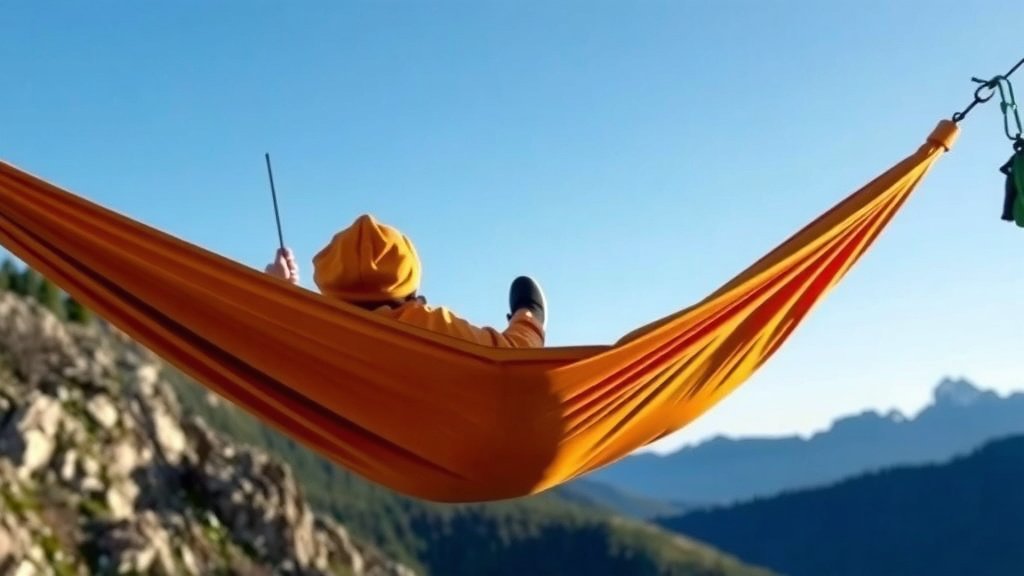
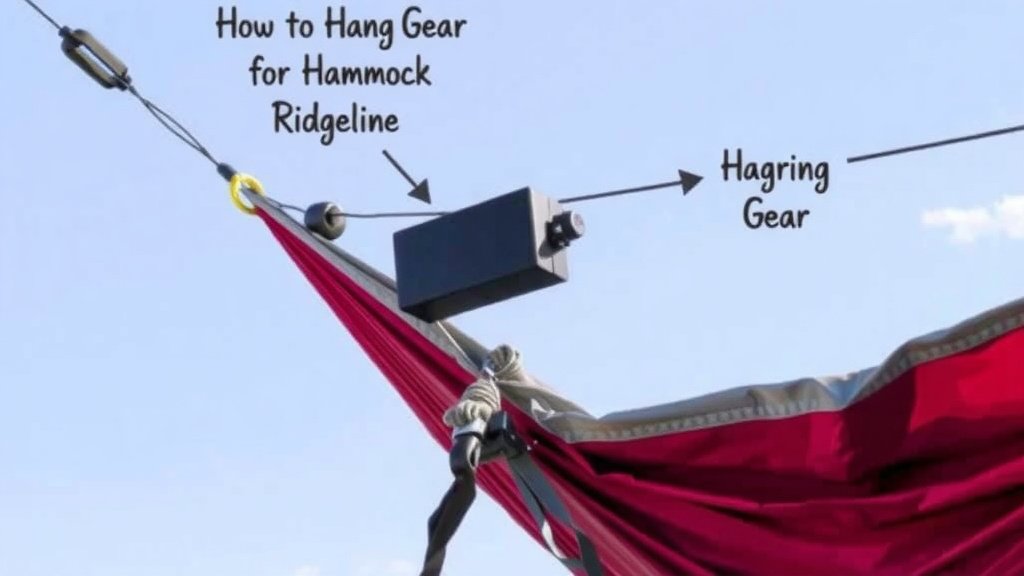
To hang gear from a hammock ridgeline, simply clip your items to the line using carabiners, s-biners, or small loops of cord. The ridgeline runs between the two ends of your hammock, giving you a perfect spot to keep gear off the ground and within easy reach. No fancy knots required.
So why bother with this in the first place? Hanging your headlamp, water bottle, or bug spray keeps them dry, organized, and easy to grab at night. We found that keeping gear off the ground also protects it from mud, ants, and morning dew — and many experts say a tidy campsite helps you sleep better, too. Who wants to crawl out of a cozy hammock at 2 a.m. looking for a flashlight?
Quick rundown of what we cover below:
- The best gear to hang from your ridgeline (and what to leave at home)
- Easy ways to attach items, from carabiners to simple cord loops
- Weight limits and safety tips so you don’t sag your setup
- Common mistakes campers make with ridgeline storage
Below, we break down everything you need to know about hanging gear from a hammock ridgeline, step by step.
Setting Up Your Hammock Ridgeline for Gear Storage
Your ridgeline is basically a closet rod for the trees. Once it’s strung tight between your suspension points, you can hang just about anything light within arm’s reach. Most campers use a structural ridgeline, which holds the hammock’s shape, or a separate gear ridge strung a few inches above it.
Which one should you use for gear? We found that a dedicated gear line is the safer bet. Loading up a structural ridgeline can change the sag and feel of your hang, and many experienced hammock campers recommend keeping the two separate (Shug-em-up forums and DIY hammock communities have beaten this drum for years).
What You’ll Need Before You Start
Good news: you probably already own everything. Here’s the short list.
- Paracord or Dyneema cord — about 12 to 15 feet, thinner is better
- Two small carabiners or Prusik loops for tensioning
- A few s-biners or mini carabiners for clipping items
- Optional: small d-ring sliders for a tidy, adjustable line
That’s it. No trip to a specialty store required.
Stringing the Line, Step by Step
This takes about three minutes once you’ve done it twice. Here’s how we’d walk a first-timer through it.
Step 1: Pick Your Anchor Points
Attach one end to your tree strap or suspension, about 8 to 12 inches above the hammock’s edge. Too high and you’ll be reaching like a toddler at a cookie jar. Too low and everything dangles in your face.
Step 2: Run the Line and Tension It
Stretch the cord across to the other side, wrap it once around the opposite suspension point, and pull it snug — like guitar-string snug, not banjo-string tight. A taut line hitch or tarp ridge tensioner makes adjustments easy.
Step 3: Add Your Attachment Points
Clip your carabiners along the line, or tie small loops every 8 inches. Done. Now your gear line is ready for business.
The Best Gear to Hang (and What to Keep Packed)
Not everything belongs on a ridgeline. Think light and frequently used. If you’d grab it after dark, it’s a candidate. If it weighs more than a paperback, it probably isn’t.
| Hang It | Leave It Packed |
|---|---|
| Headlamp or lantern | Cook stove and fuel |
| Water bottle (empty or light) | Bear canister or food bag |
| Bug spray and sunscreen | Wet boots (use a separate line) |
| Rain jacket | Full bladder of water |
| Puffy jacket or beanie | Books and tablets |
| Phone in a dry bag | Tools and repair kits |
Many backpackers cap ridgeline loads at roughly one to two pounds total. Your line can usually handle more, but your hammock’s balance is what matters most. Since your ridgeline load rides on the same system, our plain-language guide to hammock weight limits explains what the whole setup can safely carry.
Weight Limits and Balance Basics
Here’s the physics part, minus the physics class. Every pound you clip to one side shifts your hang. Center your heaviest items and keep the total light, and your hammock will lie flat and comfortable.
Most 2mm cord options handle well over 100 pounds of pull strength before breaking. The real limit is your comfort, not the cord. If the line sags like a laundry wire on wash day, you’ve overloaded it.
Safety Tips Worth Remembering
A few habits keep things trouble-free. Many experts suggest these for any campsite organization, and they apply doubly when gear hangs above your sleeping spot.
- Never hang food or scented items near your sleep area — bears and rodents follow smells (National Park Service guidance is clear on this)
- Keep batteries and electronics in dry bags, since overnight dew is sneaky
- Double-check knots before you climb in
- Remove everything heavy before you get out, or the rebound might launch your water bottle
Common Ridgeline Mistakes (and Easy Fixes)
We’ve seen the same goofs pop up again and again. Avoid these and you’re ahead of the curve.
- Overloading one side — fix it by centering weight or splitting gear between both ends
- Stringing the line too low — you’ll bonk your head every single time you sit up
- Using thin fishing line — it cuts into straps and snaps under shock loads
- Forgetting the drip line — water runs down your suspension and soaks hanging gear; add a drip clip below your tarp line
- Hanging damp clothes over your bag — moisture drips straight into your insulation
That last one stings. Ask anyone who woke up in a damp sleeping bag because their socks dripped all night. Lesson learned the wet way.
A Quick Pre-Bed Gear Checklist
Before you zip into your quilt, run through this. It takes thirty seconds and saves midnight fumbling.
- Headlamp hung on the ridge, right where your hand lands
- Water within reach but capped tight
- Nothing heavy clipped near your head end
- Scented items packed away from the hammock
- Electronics sealed in a dry bag
- Line tension checked after you’re settled in
That’s the whole system. Once you’ve hung gear this way a few nights, it becomes second nature — like brushing your teeth, but with more carabiners and better views.
Conclusion
That’s the whole trick: a separate gear line, a few carabiners, and some common sense about weight. String your cord snug above the hammock, clip only the light stuff you’ll actually reach for at night, and keep scented items far from where you sleep. We found that this small habit pays off fast — no more digging through your pack in the dark or losing a headlamp to the mud. Your setup stays tidy, your gear stays dry, and your nights get easier. So grab a length of cord on your next trip and rig your first gear line. After one night with your headlamp at arm’s reach, you won’t camp without it.
Frequently Asked Questions
Can I use my structural ridgeline to hang gear instead of a separate line?
You can, but we don’t recommend it. Adding weight to a structural ridgline changes its tension, which can alter how your hammock feels and puts stress on a part designed for a different job. A dedicated gear line takes about three minutes to rig and keeps both systems happy.
How high above my hammock should the gear line sit?
Aim for roughly 8 to 12 inches above the hammock’s edge at your suspension points. That puts everything within easy reach while you’re lying down but keeps items from bumping your face when you sit up. Adjust after your first night and you’ll dial it in quickly.
What kind of cord works best for a ridgeline?
Thin cord is your friend here. We found that 2mm Dyneema or 3mm paracord strikes a good balance between strength and low weight. Avoid anything thinner than fishing line — it can cut into tree straps and fail under sudden loads.
Will hanging gear on one side make my hammock uncomfortable?
It can. Every pound clips weight to one end, and your body will roll toward that side as you sleep. Keep total ridgeline weight to one or two pounds, center heavier items near the middle, and your hang will stay flat and cozy. If your hang still feels off after balancing the load, our guide to finding the perfect hammock sag walks through the angle step by step.
Can I hang wet socks or gloves on the ridgeline to dry overnight?
You can — but position them wisely. Hang damp items over the gear line rather than directly above your quilt, or moisture will drip into your insulation. A cold, wet spot on your down bag is a rough surprise at 3 a.m. in shoulder season.