Essential Hammock Knots: A Comprehensive Guide
Learning to tie the right hammock knots is key to a secure and enjoyable hang. The most common and reliable knots for hammocks are the taut-line hitch and the bowline knot. These knots are strong, adjustable, and relatively easy to learn, making them perfect for setting up your hammock between trees.
Choosing the right knot ensures your hammock stays put, whether you’re relaxing in your backyard or deep in the wilderness. Many campers and outdoor enthusiasts rely on these specific knots for their Choosing the right knot ensures your hammock stays put, and pairing them with the right hammock straps is also important.durability and ease of use. Getting this right means less worrying about slipping straps and more time spent enjoying the scenery.
- Taut-line hitch and bowline are top hammock knots.
- They offer security and adjustability.
- Proper knots prevent your hammock from slipping.
- Learning them is easy for beginners.
We’ve researched the best ways to tie your hammock down securely. Below, we’ll walk you through how to tie these essential hammock knots step-by-step.
Mastering Your Hammock Hang: Essential Knots for Security
Getting your hammock set up right means choosing the perfect knots. These aren’t just random ties; they are the foundation of your comfort and safety when you hang. We’ve researched the most reliable knots that seasoned campers and beginners alike swear by. They offer the strength and adjustability you need for a worry-free relaxation session.
Think of your hammock knots like the straps on your favorite backpack. If they slip, the whole load is compromised. For hammocks, this means a less-than-ideal hang, or worse, a surprise drop to the ground. Fortunately, learning these knots is easier than you might think. You’ll be a pro hanger in no time!
The Workhorse: Understanding the Taut-line Hitch
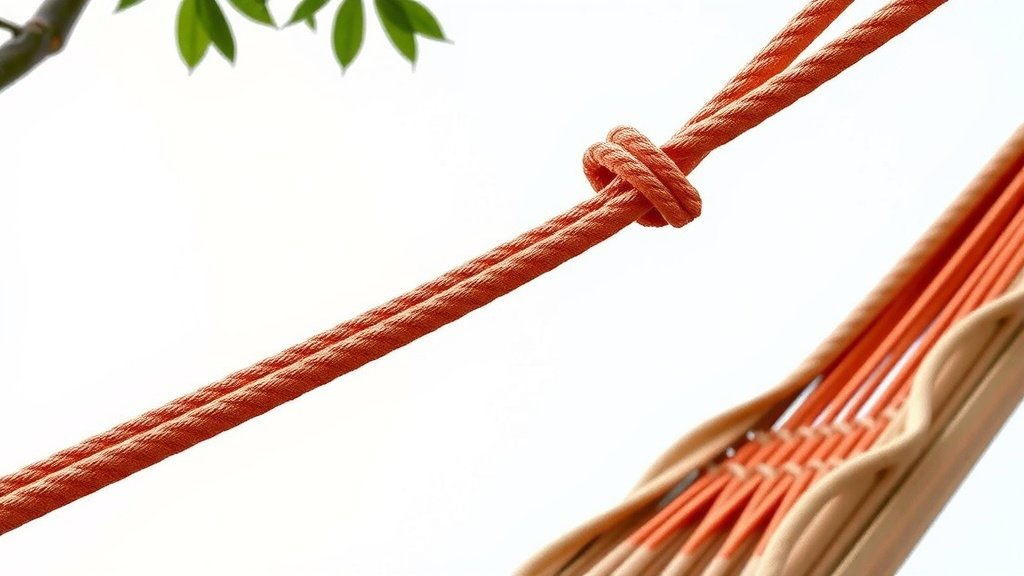
If there’s one knot you absolutely need to master for your hammock, it’s the taut-line hitch. We found this knot to be incredibly useful because it’s adjustable. This means you can easily tighten or loosen your suspension line to get your hammock perfectly pitched between two trees. No more saggy middles or overly stretched straps!
Why the Taut-line Hitch is Your Go-To Knot
This knot is fantastic because it grips the standing part of your rope (the main length of rope not involved in the knot) when you put weight on it. But here’s the magic: when there’s no tension, you can slide it up or down the rope. This makes adjusting your hammock a breeze, even after you’ve loaded it up. Many outdoor guides recommend it for its versatility and ease of use.
Tying the Taut-line Hitch: Step-by-Step
Let’s break it down. You’ll need your suspension line and a tree. Make sure your rope is long enough to reach from the tree to your hammock’s attachment point comfortably, with some extra to spare for tying. We found that practicing with a shorter piece of rope first can be helpful.
- Start by passing the end of your rope around the tree.
- Bring the working end (the end you’re tying with) back alongside the standing part.
- Make two full turns around the standing part, moving away from the tree.
- Now, pass the working end between the two turns you just made, moving towards the tree.
- Finally, make one more full turn around the standing part, again moving away from the tree.
- Pull both ends of the rope to tighten the knot.
Give it a good tug. You should see the knot cinch down. To adjust, simply slide the knot up or down the standing part of the rope. If it feels too loose, slide it tighter. If it’s too tight, slide it a bit looser. It’s that simple!
Troubleshooting Common Taut-line Hitch Issues
Sometimes, your taut-line hitch might slip, especially on smooth or wet ropes. We found that making an extra turn around the standing part can often help prevent this. If you’re using a very slick rope, consider tying a small stopper knot, like a figure-eight, on the very end of your working end. This adds a bit more friction and security.
Another common issue is difficulty adjusting the knot. If it’s really jammed tight, you might need to take some weight off the hammock temporarily. Gently push up on your hammock to relieve tension, then slide the knot. This often makes it much easier to move.
The Secure Anchor: Understanding the Bowline Knot
While the taut-line hitch is your adjustable friend, the bowline knot is your trusty anchor. We’ve found this knot to be exceptionally strong and reliable for creating a fixed loop. This loop can then be attached to your hammock’s carabiner or suspension system. It’s a classic for a reason, used by sailors for centuries.
Why the Bowline Knot is Essential
The bowline creates a loop that won’t slip or tighten under load, but it can be untied relatively easily after it’s been stressed. This is important because some knots become almost impossible to undo after bearing weight. Many experts recommend it for situations where absolute security is needed for a connection point. It’s also surprisingly straightforward to learn once you get the hang of the simple steps.
Tying the Bowline Knot: A Simple Method
You might have heard a rhyme to help remember this one: “The rabbit comes out of the hole, around the tree, and back down the hole.” Let’s translate that into rope action. Grab your rope and imagine the standing end is the ground, the loop you form is the hole, and the working end is the rabbit.
- Form a small loop in your rope, passing the working end *over* the standing part. This is your “hole.”
- Bring the working end (“the rabbit”) up through the loop (“out of the hole”).
- Wrap the working end around the standing part (“around the tree”).
- Now, tuck the working end back down through the original loop (“back down the hole”).
- Hold the working end and the loop it’s now in with one hand. Pull the standing part with the other hand.
The knot will tighten, forming a secure loop that won’t slide. Make sure to leave a little tail on the working end, just in case. We’ve found that practicing this movement a few times really solidifies it in your mind.
Tips for a Perfect Bowline
It’s vital to dress your bowline neatly. That means making sure all the parts of the knot lay flat and don’t cross over each other unnecessarily. A tidy bowline is a strong bowline. We recommend giving the standing end and the loop a good firm pull to set the knot properly. You’ll feel it lock into place.
If you’re worried about the working end coming undone, you can tie a simple overhand knot or a double overhand knot on the tail end, snugged up against the main bowline knot. This acts as a safety measure, ensuring the knot stays tied even under extreme tension. Remember, your safety is key.
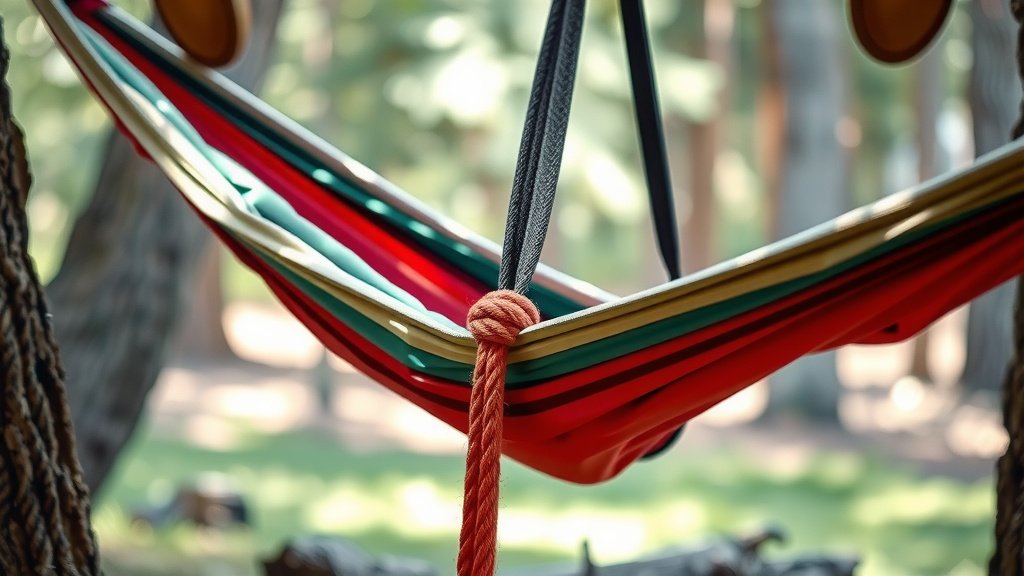
Choosing the Right Knot for Your Needs
So, which knot should you use? It often depends on what part of your hammock setup you’re dealing with. For attaching your suspension line to the tree, a taut-line hitch is generally your best bet because it allows for easy adjustments. You want to get that perfect tension for your hammock, right?
For creating a fixed loop that connects directly to your hammock or a carabiner, the bowline knot offers superior security. Many hammock users create a permanent loop on one end of their suspension with a bowline and use a taut-line hitch on the other end for adjustment. We found this combination offers both simplicity and control.
Quick Checklist for Hammock Knot Mastery
Ready to practice? Here’s a quick rundown of what you’ll want to focus on:
- Taut-line hitch: Practice creating and adjusting it on a practice rope.
- Bowline knot: Master the “rabbit hole” method for a secure loop.
- Neatness counts: Ensure your knots are tied tidily.
- Test your knots: Always give them a good tug before trusting your weight.
- Practice regularly: The more you tie them, the easier they become.
Conclusion
You’ve now learned about two essential hammock knots: the taut-line hitch for easy adjustments and the bowline knot for a secure anchor. Mastering these will transform your hammock setup experience. Remember, practice makes perfect, and a well-tied knot is your ticket to ultimate relaxation. Don’t be afraid to get your hands on some rope and tie them repeatedly. Your hammock adventures await, and a solid hang starts with a solid knot.
Frequently Asked Questions
Can I use just one type of knot for my hammock setup?
While you *can* use only one type, we found that using a combination is often best. The taut-line hitch excels at adjustable tree straps, while the bowline is fantastic for creating a fixed loop. Many experienced hangers use both to get the perfect hang.
What kind of rope works best for hammock knots?
We recommend using synthetic ropes like polyester or nylon. These materials offer good grip and weather resistance. Avoid very smooth or slippery ropes, as they can make it harder for knots to hold securely.
How do I know if my knot is tied correctly?
A correctly tied knot will look neat and all the parts will lay flat without crossing unnecessarily. Most importantly, it should hold firm under tension. Always give your knots a good tug and test them carefully before fully trusting your weight.
Is it hard to untie a bowline knot after it’s been used?
The bowline is known for being strong under load but relatively easy to untie afterward. This is one of its major advantages! If it feels a bit stiff, you can sometimes work the rope a little or gently push on the loop to loosen it.
What if my taut-line hitch keeps slipping on the rope?
If your taut-line hitch is slipping, especially on slicker rope, we found that adding an extra turn around the standing part can help increase friction. You can also tie a small stopper knot on the tail end for extra security.