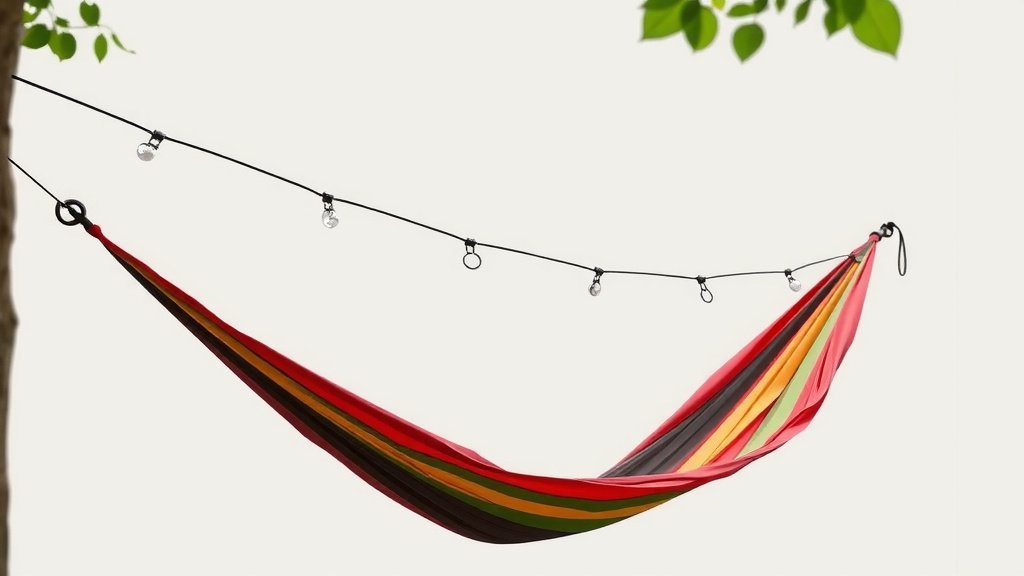
Hammock Drip Line Setup: A Simple Guide
You can absolutely use a drip line on your hammock to keep it dry. Simply run a length of cord or rope over your hammock and attach the ends to your ridgeline or suspension. This creates a simple overhang that diverts rainwater away from your cozy sleeping spot. It’s a quick and effective way to stay dry on damp camping trips.
This clever setup is also known as a “whoopie sling” or a “tarp extension” by some outdoor enthusiasts. It’s a minimalist solution that protects your gear. You’ll find it’s a very popular hack among hammock campers looking for extra weather protection without the bulk of a full tarp.
- A drip line keeps your hammock dry.
- It uses a simple cord attached to your suspension.
- Rainwater runs off the cord instead of into your hammock.
- It’s an easy, lightweight weatherproofing solution.
- Many hammock campers use this trick.
Let’s walk through exactly how you can set up your own hammock drip line step by step.
Setting Up Your Hammock Drip Line for Dry Camping
So, you’ve got your hammock, ready for some outdoor relaxation. But what about when the sky decides to cry? A simple drip line can be your secret weapon against a soggy sleeping bag. We’ve found this setup is a favorite among hammock campers for good reason. It’s effective, lightweight, and super easy to implement.
What Exactly Is a Hammock Drip Line?
Think of your drip line as a tiny, focused rain gutter for your hammock. It’s essentially a piece of cordage strategically placed above your hammock. Its main job is to catch rainwater running down your suspension system. Then, it directs that water away from your hammock. You’re essentially creating a mini-tarp effect without the full coverage and bulk.
How it Works to Keep You Dry
Rainwater naturally travels down whatever it hits, including your suspension straps or ropes. Without a drip line, this water would flow right onto the edges of your hammock. From there, it can soak into your fabric and eventually into your sleeping gear. The drip line intercepts this water. It forms a slight sag or overhang. This encourages the water droplets to run along the cord and drip off the ends. They land on the ground, far from your sleeping area.
Benefits of Using a Drip Line
We’ve found that even experienced campers often overlook this simple addition. It offers several advantages:
- Lightweight: It adds minimal weight to your pack. A few feet of paracord weigh next to nothing.
- Easy Setup: It takes only a couple of minutes to attach. You don’t need special tools.
- Cost-Effective: You might already have the materials. If not, they are very inexpensive.
- Versatile: It works with most hammock suspension systems.
- Extra Protection: It complements your main tarp. It can help keep your gear drier even when a full tarp isn’t deployed.
Materials You’ll Need
The beauty of a drip line is its simplicity. You don’t need much:
The Essential Cordage
You’ll need a length of cord. Paracord is a popular choice among outdoor enthusiasts. It’s strong, durable, and widely available. A length of about 8 to 15 feet should be plenty. This gives you flexibility in how you position it. Other strong, non-stretching cords will also work.
Attachment Points
Your existing hammock suspension or ridgeline will serve as your attachment points. If you use whoopie slings, the knot itself can be a handy spot. Some people simply tie loops onto their suspension. Others might use small carabiners or toggles for quicker adjustments.
Step-by-Step Drip Line Installation Guide
Ready to get your drip line set up? It’s easier than you might think. Let’s break it down.
Step 1: Identify Your Attachment Points
Look at your hammock suspension. Where does it connect to the tree straps or your ridgeline? These are the spots you’ll be working with. You want your drip line to run parallel to your hammock’s ridgeline, usually a bit higher up.
Step 2: Secure One End of the Drip Line
Take one end of your cord. Attach it securely to one side of your hammock suspension. A simple overhand knot or a bowline knot usually does the trick. Make sure it’s snug but not so tight that it pulls your suspension out of place.
Step 3: Position the Drip Line
Now, run the cord over your hammock. You want it to form a gentle arc. This arc should be positioned slightly above your hammock. Think of it like a small, sagging clothesline directly over your sleeping space. The exact height depends on how much sag you want and how much rain you anticipate.
Step 4: Secure the Other End
Once you have the desired sag, attach the other end of the cord. Connect it to the opposite side of your hammock suspension. Again, a secure knot is key. Ensure the tension is even on both sides. This helps create a consistent drip point.
Step 5: Test the Sag and Drip Points
Gently tug on the drip line. You want a noticeable sag. This is what will encourage the water to flow to the middle and drip off. If you can, pour a little water on it. Watch to see where it drips. Adjust the tension or position until you’re happy with how it diverts water.
Drip Line vs. Tarp: When to Use Which
It’s important to understand that a drip line is not a full tarp. A tarp offers comprehensive protection from rain and wind. A drip line primarily shields your hammock from water running down your suspension.
Situations Where a Drip Line Shines
We recommend using a drip line in these scenarios:
- Light Drizzle: When only a light rain is expected, a drip line might be enough.
- Mild Weather: If you’re camping in warm weather and just want to avoid dew or light mist.
- As a Supplement: To add an extra layer of protection when you’re already using a tarp. It can help keep the edges of your tarp dryer.
- Minimalist Camping: If you’re trying to pack as light as possible and don’t want to carry a full tarp.
When You Definitely Need a Tarp
You’ll want a full tarp for:
- Heavy Rain: A drip line simply won’t protect you from a downpour.
- Windy Conditions: Tarps provide much better wind protection.
- Cold Weather Camping: Tarps can help trap body heat and provide insulation.
- Extended Trips: For longer trips, a tarp offers more reliable shelter.
Think of it this way: a drip line is like an umbrella for your suspension system. A tarp is like a full shelter.
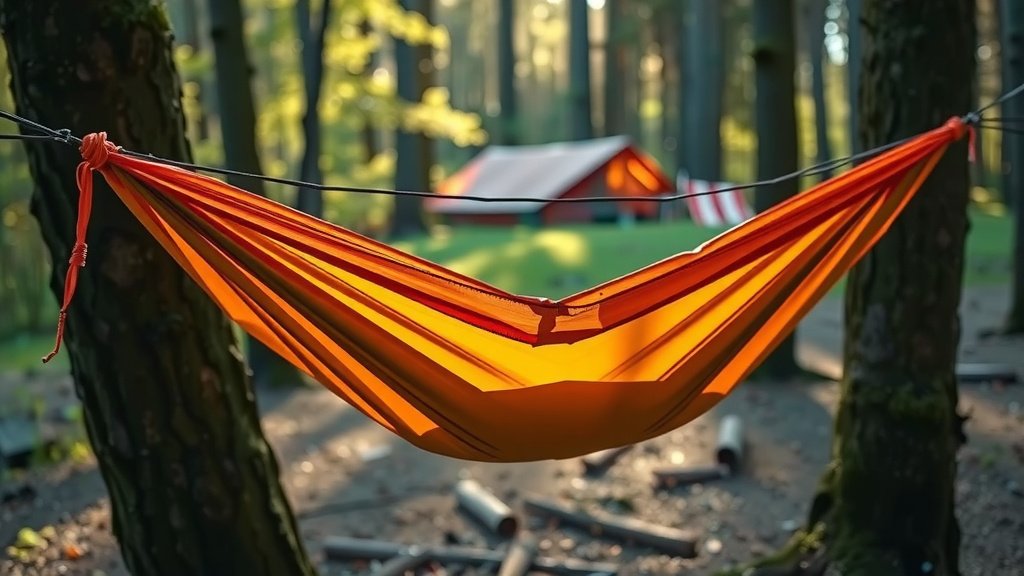
Tips for Optimizing Your Drip Line Performance
Want to get the most out of your drip line? Here are a few pointers we’ve picked up:
Adjusting the Sag
The amount of sag is key. Too tight, and water might still run onto your hammock. Too loose, and it might sag too much. A sag of about 6-12 inches is often a good starting point. You might need to experiment to find what works best for your setup and local conditions. Remember, the goal is for the water to run to the middle and drip off cleanly.
Cord Material Matters
While paracord is great, consider its properties. It can absorb water over time. If you want to minimize water absorption, look for coated or synthetic cords. Some Dyneema or Spectra lines are excellent choices. They are incredibly strong, lightweight, and don’t absorb water at all.
Positioning is Key
Experiment with where you attach your drip line. Some people attach it directly to their suspension lines. Others prefer to connect it to the main ridgeline of their hammock if they have one. The goal is to create a distinct overhang that effectively diverts water.
Maintenance and Storage
After each use, especially if it got wet, let your drip line cordage dry completely before packing it away. This prevents mildew and prolongs the life of the cord. Inspect it for any signs of wear and tear before each trip.
Troubleshooting Common Drip Line Issues
Even simple setups can have little hiccups. Don’t worry, most are easy fixes!
Water Still Dripping Onto the Hammock
This usually means your sag isn’t deep enough. Try loosening the tension on your drip line cord to create more of a dip. Alternatively, you might need to reposition the line slightly higher. Ensure the drip points are well away from the hammock edges.
Drip Line Sagging Too Much
If your drip line is sagging so much it’s touching your hammock, you need to tighten it. Adjust the knots on either end to create more tension. Make sure both sides are equally taut. You want a gentle curve, not a deep U-shape.
Cord Slipping
If the knots you’re using keep slipping, practice tying them correctly. Ensure you’re using a knot that grips well under tension. A bowline knot is a reliable choice for creating a secure loop. For quick adjustments, consider using adjustable toggles or a trucker’s hitch variation if you’re comfortable with it.
Your Quick Hammock Drip Line Checklist
Before your next trip, run through this quick checklist:
- Have you chosen a suitable length of cord (8-15 feet)?
- Is your cordage strong and abrasion-resistant?
- Do you know how to tie secure knots?
- Have you practiced setting up the drip line?
- Can you adjust the sag easily?
- Does the drip line effectively divert water in a test run?
Conclusion
You’ve learned how a simple drip line can make a big difference in your hammock camping comfort. By diverting rainwater away from your hammock, you can avoid a soggy night. Remember, it’s a lightweight, cost-effective addition that works alongside your existing setup. Practicing the setup and knowing when to use it versus a full tarp will help you stay dry on your adventures. Now, go ahead and rig up your drip line for your next trip!
Frequently Asked Questions
How much sag should my hammock drip line have?
We’ve found that a sag of about 6 to 12 inches is usually a good starting point for your drip line. Too much sag and it might touch your hammock; too little, and water could still run off. You’ll want to experiment a bit to find the sweet spot for your specific setup.
Can I use any type of cord for a drip line?
While paracord is popular, we recommend using strong, non-absorbent cords for optimal performance. Materials like Dyneema or Spectra lines are excellent choices because they are lightweight, strong, and won’t hold onto water. This helps prevent mildew and keeps your drip line effective.
Does a drip line protect from wind?
No, a drip line’s primary function is to divert water running down your suspension. It offers very little protection against wind. For wind protection, you will definitely need a full tarp system.
How do I attach the drip line to my hammock suspension?
You can securely attach your drip line using simple, strong knots like a bowline or an overhand knot. Ensure the knots are snug but not so tight that they strain your main suspension. Some campers also use small toggles or carabiners for easier adjustments.
When is a drip line not enough protection?
A drip line is best for light drizzles or dew, not heavy rain or storms. If you anticipate significant precipitation or windy conditions, you’ll need to deploy a full tarp for adequate shelter. Think of it as an added bonus, not your primary rain defense.