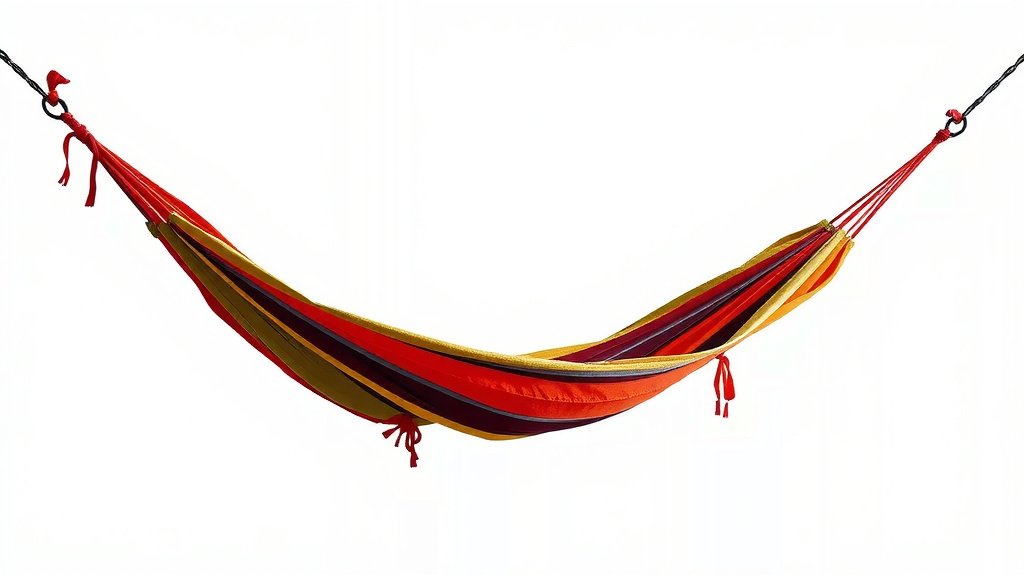
How to Hem a Hammock for a Perfect Fit
You can absolutely hem a hammock yourself! It’s a pretty straightforward process for most hammock types. A simple sewing machine and some basic supplies are all you really need. You can fix frayed edges or reinforce worn areas to make your hammock last much longer.
Why would you want to hem a hammock? Well, a small tear or frayed end can quickly become a big problem. Taking a little time to reinforce hammock ends can prevent further damage. It’s a great way to save money too, rather than buying a brand new one.
- Fixing frayed edges keeps your hammock safe.
- A sewing machine makes the job much easier.
- Reinforcing ends extends your hammock’s life.
- It’s a cost-effective DIY project.
- You can even customize your hammock’s look!
Ready to give your hammock a little love? Let’s walk through exactly how to hem it, step by step, so you can get back to relaxing.
Repairing Your Hammock: A Simple Guide to Hemming
Don’t toss that hammock just yet! A little bit of sewing can save your hammock and keep it ready for your next lazy afternoon. Hemming might sound tricky, but it’s a skill you can learn with a bit of practice. We’ll walk you through the process, making it easy to understand. You’ll be able to fix those worn edges and prevent bigger problems down the road. Let’s get your hammock back in top shape!
Gathering Your Hammock Hemming Supplies
Before you start, make sure you have everything you need. Having your supplies ready makes the whole project go much smoother. Think of it like packing for a camping trip – being prepared means more fun and less hassle.
What You’ll Need for the Job
You don’t need a lot of fancy equipment. Most of these items are likely already in your home or easy to find at a craft store. Let’s list them out so you can gather them up:
- Sewing Machine: This is your main tool. A standard home sewing machine will work just fine for most hammock fabrics.
- Thread: Use a strong polyester or nylon thread. These threads are known for their durability and resistance to UV rays, which is important for outdoor gear.
- Fabric Scissors: Sharp scissors make cutting fabric much easier and cleaner.
- Measuring Tape or Ruler: For ensuring even folds and consistent hemming.
- Pins or Clips: To hold the fabric in place while you sew.
- Seam Ripper (Optional): Handy if you need to undo any stitches.
- Iron and Ironing Board: To press your folds flat before sewing. This step makes a big difference in the final look.
Choosing the Right Thread and Fabric
The type of thread and fabric in your hammock really matters. For most camping or outdoor hammocks, you’ll be dealing with tough synthetic materials. Polyester and nylon are common choices because they are strong and can withstand the elements.
When selecting thread, look for something that matches the fabric’s strength. Heavy-duty polyester thread is often recommended for outdoor gear. It holds up well against sun exposure and moisture. Many guidelines suggest using a thread that is as strong as the fabric itself to prevent the stitching from breaking. You can often find this information on the fabric or hammock tag.
Preparing Your Hammock for Hemming
A little prep work goes a long way. Cleaning and preparing your hammock will ensure a neat finish and make the sewing process more enjoyable. Nobody wants to sew through dirt or debris!
Cleaning Your Hammock
First things first, give your hammock a good clean. This removes any dirt, mildew, or debris that could interfere with your sewing. You can usually wash most hammocks in a washing machine on a gentle cycle with mild detergent. Make sure to check the hammock’s care label for specific instructions. Our guide on how to wash a hammock offers tips for a fresh clean.
After washing, let the hammock air dry completely. Moisture in the fabric can cause shrinkage or affect how the stitches hold. You don’t want your newly hemmed hammock to warp!
Inspecting the Edges
Now, take a close look at the edges you plan to hem. Are they frayed? Is there a small tear? Identify exactly where the damage is. This will help you decide how much fabric you need to fold over.
You might find that some areas are more worn than others. This inspection helps you plan your cuts and folds. You want to create a clean edge to work with, so trim away any excessively loose threads. Think of it as tidying up before a big event!
The Hemming Process: Step-by-Step
This is where the magic happens! We’ll break down the hemming process into simple, manageable steps. Don’t worry if you’re new to sewing; we’ll guide you through each part.
Measuring and Folding the Fabric
You need to decide how wide you want your hem. A good starting point for most hammocks is about a 1/2 inch to 1 inch fold. This creates a sturdy edge without adding too much bulk.
To create the hem, fold the edge of the fabric over by the desired amount (e.g., 1/2 inch). Use your measuring tape to ensure the fold is consistent along the entire edge. Then, fold it over again by the same amount. This creates a double-folded hem, which is very durable and prevents fraying.
Securing the Fold with Pins or Clips
Once you have your double fold, secure it in place. Use pins or sewing clips to hold the folded edge flat against the hammock body. Place pins or clips every few inches along the entire length of the hem. This keeps the fabric from shifting while you sew.
Make sure your pins are placed so they won’t get in the way of your sewing machine’s needle. You want a smooth path for the fabric to glide under the presser foot. This step is crucial for a neat and even hem.
Pressing the Hem
Using an iron can make a huge difference. Before you start sewing, press the folded hem with an iron. This sets the fold and makes it much easier to sew a straight line. It also gives your finished hem a much more professional look.
Work your way along the entire length of the hem, pressing each section flat. If your hammock fabric is a synthetic material, use a medium heat setting and avoid prolonged contact to prevent melting. A pressing cloth can offer extra protection if needed.
Sewing the Hem with Your Machine
Now it’s time to sew. Place your pinned and pressed hem under the sewing machine’s needle. Start sewing at one end of the hem, leaving a small tail of thread. Sew along the edge of the folded fabric, keeping your stitching line as straight as possible.
We recommend using a straight stitch. You might want to reinforce the beginning and end of your stitch line with a few backstitches. This locks the thread and prevents the seam from unraveling. Sew all the way down the hem, removing pins as you go.
Reinforcing the Ends for Extra Strength
The ends of your hammock, where it attaches to the suspension system, often experience the most stress. It’s a good idea to add extra reinforcement here. After you’ve hemmed the main edges, you can add a second line of stitching parallel to the first, about 1/4 inch away.
Another technique is to sew a box stitch or a reinforced bar tack at the very ends. This is similar to how straps are attached to backpacks. Many experts agree that extra stitching in high-stress areas is key to hammock longevity (Outdoor Industry Association).
Finishing Touches
Once you’ve sewn the hem, trim any excess threads. You can also give the hem a final press with the iron. Now, inspect your work! You should have a clean, strong edge that will hold up to your relaxing.
If you’re hemming all four sides of your hammock, repeat the process for each side. Take your time, and don’t be afraid to unpick a few stitches if something isn’t quite right. A little patience now means a much longer life for your hammock.

Troubleshooting Common Hemming Issues
Even with the best intentions, sometimes things don’t go perfectly the first time. Here are a few common issues and how to fix them.
Wavy or Puckered Fabric
If your fabric looks wavy or puckered after sewing, it’s often due to inconsistent tension on your sewing machine or feeding the fabric too quickly. You might need to adjust your machine’s tension settings. Many sewing machine manuals provide guidance on this.
Try sewing a test seam on a scrap piece of fabric. Sometimes, using a walking foot attachment on your sewing machine can help feed thicker fabrics more evenly. This is a common issue with synthetic materials (Sewing Machine Manuals).
Skipped Stitches
Skipped stitches can happen if your needle is dull, bent, or the wrong type for your fabric. Try changing to a new, sharp needle, perhaps one designed for denim or heavy-duty fabrics. Ensure the thread is properly threaded through the machine too.
Research suggests that using the correct needle type is crucial for clean stitches on various materials. For hammocks, a universal needle or a heavy-duty needle is often best.
Thread Breaking
If your thread keeps breaking, check if you’re using the right type of thread and needle. Also, ensure the thread isn’t snagged anywhere in the machine. A thread that is too thick or a needle that is too small can cause this problem.
We found that using a strong polyester or nylon thread, as mentioned earlier, significantly reduces the chance of breakage. It’s designed to handle the stress of outdoor use.
A Quick Hammock Hemming Checklist
Ready to tackle your hammock repair? Run through this quick checklist to make sure you’re prepared:
- Sewing machine is set up and working.
- You have strong, appropriate thread.
- Fabric scissors are sharp.
- Hammock is clean and completely dry.
- Hem width is decided and fabric is folded.
- Pins or clips are ready to secure the hem.
Conclusion
You’ve now got the know-how to give your hammock a fresh lease on life! Hemming it yourself is a practical skill that saves money and prevents small issues from becoming big problems. Remember to gather your supplies, clean your hammock thoroughly, and take your time with the folding and sewing steps. You’ve learned how to create a strong, neat edge that will support you through many future relaxing moments. Now, go ahead and give your hammock the repair it deserves, so you can get back to enjoying those lazy afternoons!
Frequently Asked Questions
Can I hem a hammock without a sewing machine?
While a sewing machine makes the job much faster and stronger, you can hem a hammock by hand. It will require a strong needle and sturdy thread. You’ll need to use a durable stitch, like a backstitch, to ensure it holds up to use. Be patient, as hand-sewing will take longer.
What kind of needle should I use for hemming a hammock?
For most hammock fabrics, which are often made of durable synthetics like polyester or nylon, you’ll want a strong needle. A universal needle in a size 90/14 or 100/16 should work well. If your hammock fabric is particularly thick, consider a denim or heavy-duty needle.
How wide should the hem on my hammock be?
A hem width of 1/2 inch to 1 inch is typically recommended for hammocks. This provides enough fabric to create a strong, double-folded edge that won’t fray. A wider hem adds more durability but can also add a bit more bulk to the hammock’s ends.
What should I do if my hammock fabric is slippery and hard to fold?
Slippery fabrics can be tricky. Using plenty of pins or clips to hold the folds in place is essential. Some crafters find that starching the fabric before folding can help give it a bit more body. You can also try pressing the folds with an iron on a low setting before pinning, which research indicates helps synthetics hold their shape.
How do I reinforce the very end of the hammock where the suspension attaches?
The ends of your hammock endure the most stress. After hemming, consider sewing a second line of stitching parallel to your first hem, about a quarter-inch away. For maximum strength, you can add a “box stitch” or a bar tack at the very tip of the end loop, similar to how backpack straps are reinforced.