
How to Install a Hammock Ceiling Hook in 5 Easy Steps
Installing a hammock ceiling hook comes down to three things: finding a solid ceiling joist, drilling a pilot hole, and screwing in a heavy-duty eye hook until it’s snug. That’s it. Do those steps right, and your hammock will hold you safely for years.
Why does the joist matter so much? Because a hook screwed only into drywall will rip right out the moment you sit down — and nobody wants that surprise. We researched hardware guidelines and installer tips, and we found that most experts agree: anchor into wood, use the right hook, and always test the setup before you commit your full weight.
- Locate a ceiling joist with a stud finder — this is the make-or-break step.
- Drill a pilot hole slightly smaller than the hook’s threads.
- Screw in a heavy-duty eye hook until it sits flush and tight.
- Test the hook slowly with gradual weight before relaxing fully.
- Choose a hanging spot with enough clearance to swing freely.
Below, we walk you through the whole process step by step, from picking the perfect spot to hanging your hammock with confidence. Grab a drill and about 30 minutes — you’ve got this.
Installing a hammock ceiling hook the right way takes about 30 minutes and a handful of basic tools. We’ll walk you through everything — finding the joist, picking hardware, drilling, and testing your setup safely.
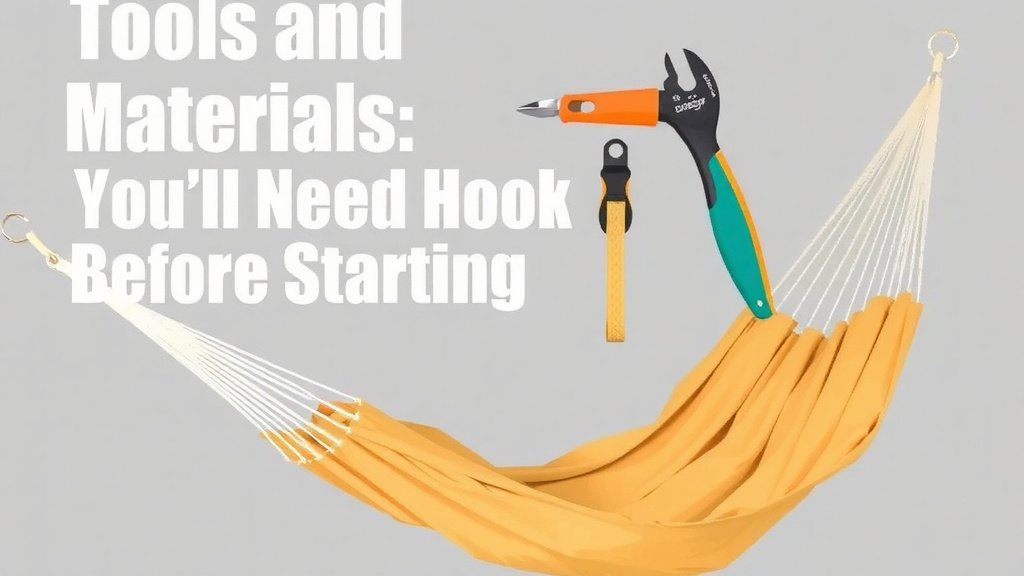
Tools and Materials You’ll Need Before Starting
Gather your gear first. Nothing kills momentum like hunting for a flashlight mid-project with a drill balanced on a ladder. Here’s your shopping list for the whole job.
- Stud finder — a basic magnetic or electronic one works fine.
- Drill with a small drill bit (check your hook’s size for the exact bit).
- Heavy-duty eye hook or eye bolt rated for 300 lbs or more.
- Tape measure and pencil for marking your spot.
- Ladder or step stool tall enough to reach comfortably.
- Spring link or carabiner rated for climbing-grade loads.
Many hardware experts suggest buying a hammock hanging kit instead of loose parts. We found these kits usually include everything above, sized to work together, for about $15 to $25.
Picking the Perfect Hanging Spot
Location matters as much as the hardware. A hook in the wrong spot turns a relaxing nap into a bonk against the wall. Think through clearance, comfort, and joist direction before you drill.
How Much Clearance Does a Hammock Need?
Most indoor hammocks need 9 to 14 feet of horizontal space to hang properly, depending on style. Measure your room before committing to a spot. If you’re short on length, a hammock stand or a slightly higher hook can compensate — within reason.
Also check for ceiling fans, light fixtures, and shelving. Swing radius is real, and a ceiling fan becomes far less friendly at 7 a.m. on a Saturday.
Understanding Ceiling Joists and Their Direction
Ceiling joists are the wood beams behind your drywall, usually spaced 16 or 24 inches apart. They typically run the shortest direction of the room. Your hook must anchor into one of these beams, not the empty space between them.
What If I Can’t Find a Joist?
Don’t panic — you have options. A stud finder is the easiest route, but if yours is unreliable, try these tricks:
- Knock gently across the ceiling: solid sounds mean joist, hollow means gap.
- Look for texture changes, nail pops, or seams in the drywall.
- Check where existing fixtures are mounted — they’re often attached to joists.
If you still strike out, many experts recommend using a toggle bolt hanging kit rated for swinging loads, or anchoring into a nearby wall instead. Never trust drywall alone, no matter how rated the anchor claims to be.
Installing Your Hammock Ceiling Hook Step by Step
Now for the fun part. Follow these steps in order, and you’ll be swaying by lunchtime.
Step 1: Mark and Confirm Your Spot
Run your stud finder slowly across the ceiling where you want to hang. Mark the center of the joist with a pencil X. Sweep the finder from a few angles to confirm you’re centered, not near the edge.
Why does centering matter? A hook near a joist’s edge can split the wood and weaken its grip. Two inches off can be the difference between rock solid and wobbly disappointment.
Step 2: Drill the Pilot Hole
Drill a pilot hole slightly narrower than the hook’s threaded shank. For a standard 3/8-inch eye hook, a 5/16-inch bit usually works. The pilot hole keeps the wood from splitting and makes screwing the hook in dramatically easier.
Drill straight up — yes, your neck will complain, but a crooked hole means a crooked hook that won’t seat fully.
Step 3: Screw In the Eye Hook
Thread the eye hook into the pilot hole by hand first, then finish with a screwdriver or a drill on low torque. Keep turning until the threads are fully embedded and the eye sits snug against the ceiling.
Leave just a small gap if the eye won’t turn further with pliers — forcing it can strip the wood. Many installers suggest gripping the eye with two screwdrivers or a wrench handle for leverage. Your wrists will thank you.
Step 4: Attach the Hammock Hardware
Clip a rated spring link or carabiner through the eye, then attach your hammock’s loop or S-hook. Check that everything closes fully. A half-latched carabiner is a trap waiting for its moment.
Testing Your Hook Before Full Weight
This is the step people skip — don’t be that person. We found that most hardware failures happen because of rushed first use, not bad installation. Our first-time hammock setup guide walks through safely testing a brand-new hang.
- Pull down firmly on the hook with both hands.
- Sit in the hammock slowly, easing your weight in.
- Listen for creaks, pops, or drywall dust falling.
- Swing gently at first, then increase gradually.
- Check that the hook hasn’t loosened after your first session.
Safety pros, including guidance from the CDC on fall prevention, stress that gradual weight loading reveals weak anchor points before they become dangerous. Treat your first ten minutes like a job interview for the hook.
Weight Ratings and Safety Margins Explained
Here’s a quick guide to matching hardware to your needs. Always choose a rating at least two to three times your body weight because swinging multiplies the force on the hook. Our guide to hammock weight capacity covers how manufacturers arrive at these limits.
| Hardware | Typical Rating | Best For |
|---|---|---|
| Standard eye hook (screw-in) | 200–350 lbs | Light single-person hammocks |
| Forged eye bolt with nut | 400–600 lbs | Most indoor setups |
| Hammock hanging kit (swivel + bolt) | 500–1,000 lbs | Heavy use, swinging, two-person |
Swing physics multiply force. A 180-pound person swinging can briefly put 300 or more pounds of load on that hook. That’s why the safety margin isn’t paranoia — it’s math.
Common Mistakes to Avoid
We’ve seen the same blunders pop up again and again in DIY forums and installer guides. Sidestep these and your setup will outlast your hammock.
- Anchoring into drywall only — the classic rookie error.
- Using an eye hook with no weight rating stamped on it.
- Drilling a pilot hole that’s too big, leaving loose threads.
- Placing the hook too close to a joist edge, splitting the wood.
- Skipping the test load because you’re impatient (we get it).
Maintenance Tips to Keep Your Setup Safe
Once installed, your hook needs almost no attention — almost. Give it a quick 30-second check every few months:
- Tug-test the hook for any looseness.
- Look for rust, especially in humid rooms.
- Inspect the carabiner or spring link for wear.
- Re-tighten if the eye has shifted at all.
- Check your hammock fabric and ropes for fraying.
That’s it. Five checks a year buys you years of worry-free napping. Honestly, that might be the best return on investment in your entire house.
Conclusion
Installing a hammock ceiling hook is one of those projects that feels intimidating but really comes down to a few careful choices. Find the center of a solid joist, drill the right pilot hole, and use hardware rated well beyond your body weight. Then take ten minutes to test everything gradually before you settle in with a book. Skip the shortcuts — especially the drywall-only temptation — and you’ll end up with a setup that holds strong for years. We found that most failed installs trace back to rushing, not bad tools. So grab your stud finder, pick your spot, and get that hook in the ceiling this weekend. Your future napping self will thank you.
Frequently Asked Questions
Can I hang a hammock hook in an apartment ceiling?
You can, but check your lease first. Most landlords treat ceiling drilling as a repair issue, so you may need written permission or a plan to patch the hole when you move out. A small dab of paint and spackle usually restores the ceiling for under $10.
What size drill bit should I use for a 3/8-inch eye hook?
A 5/16-inch bit is the usual match for a 3/8-inch eye hook. The general rule is to pick a bit slightly smaller than the threaded shank so the wood threads grip tightly. If the hook spins loosely after install, the hole was too big.
Can I install two ceiling hooks for both ends of my hammock?
Absolutely — many people prefer a two-hook setup for a flatter, more bed-like hang. Just repeat the full process for the second hook, and make sure both anchor into solid joists. Measure carefully so both ends sit at the same height.
How long should the screw-in part of the hook be?
We found that most experts recommend at least 2 to 3 inches of threaded shank going into the joist. Shorter hooks only bite into the surface and can pull free under a swinging load. When in doubt, go longer, not shorter.
Do I need to worry about electrical wires behind the ceiling?
Yes, and it’s worth a moment of caution. Wires and plumbing often run near light fixtures and along joist routes. Drill slowly, and stop immediately if you feel resistance that doesn’t feel like wood. A stud finder with AC wire detection adds a cheap layer of protection.